We live in a world that is gradually and incessantly attracted by over-rationality and order. In this article we’ll burst the enchanted bubble and embrace corruption and chaos — We’re going to discuss the topic of image glitch art.
w̸h̸a̷t̴’̶s̴ ̶a̴ ̷g̷l̸i̷t̴c̵h̵
Welcome to the land of creative destruction: image glitch art. Our story
starts with a simple idea: glitching a wallpaper to create a slideshow
of corrupted pictures.
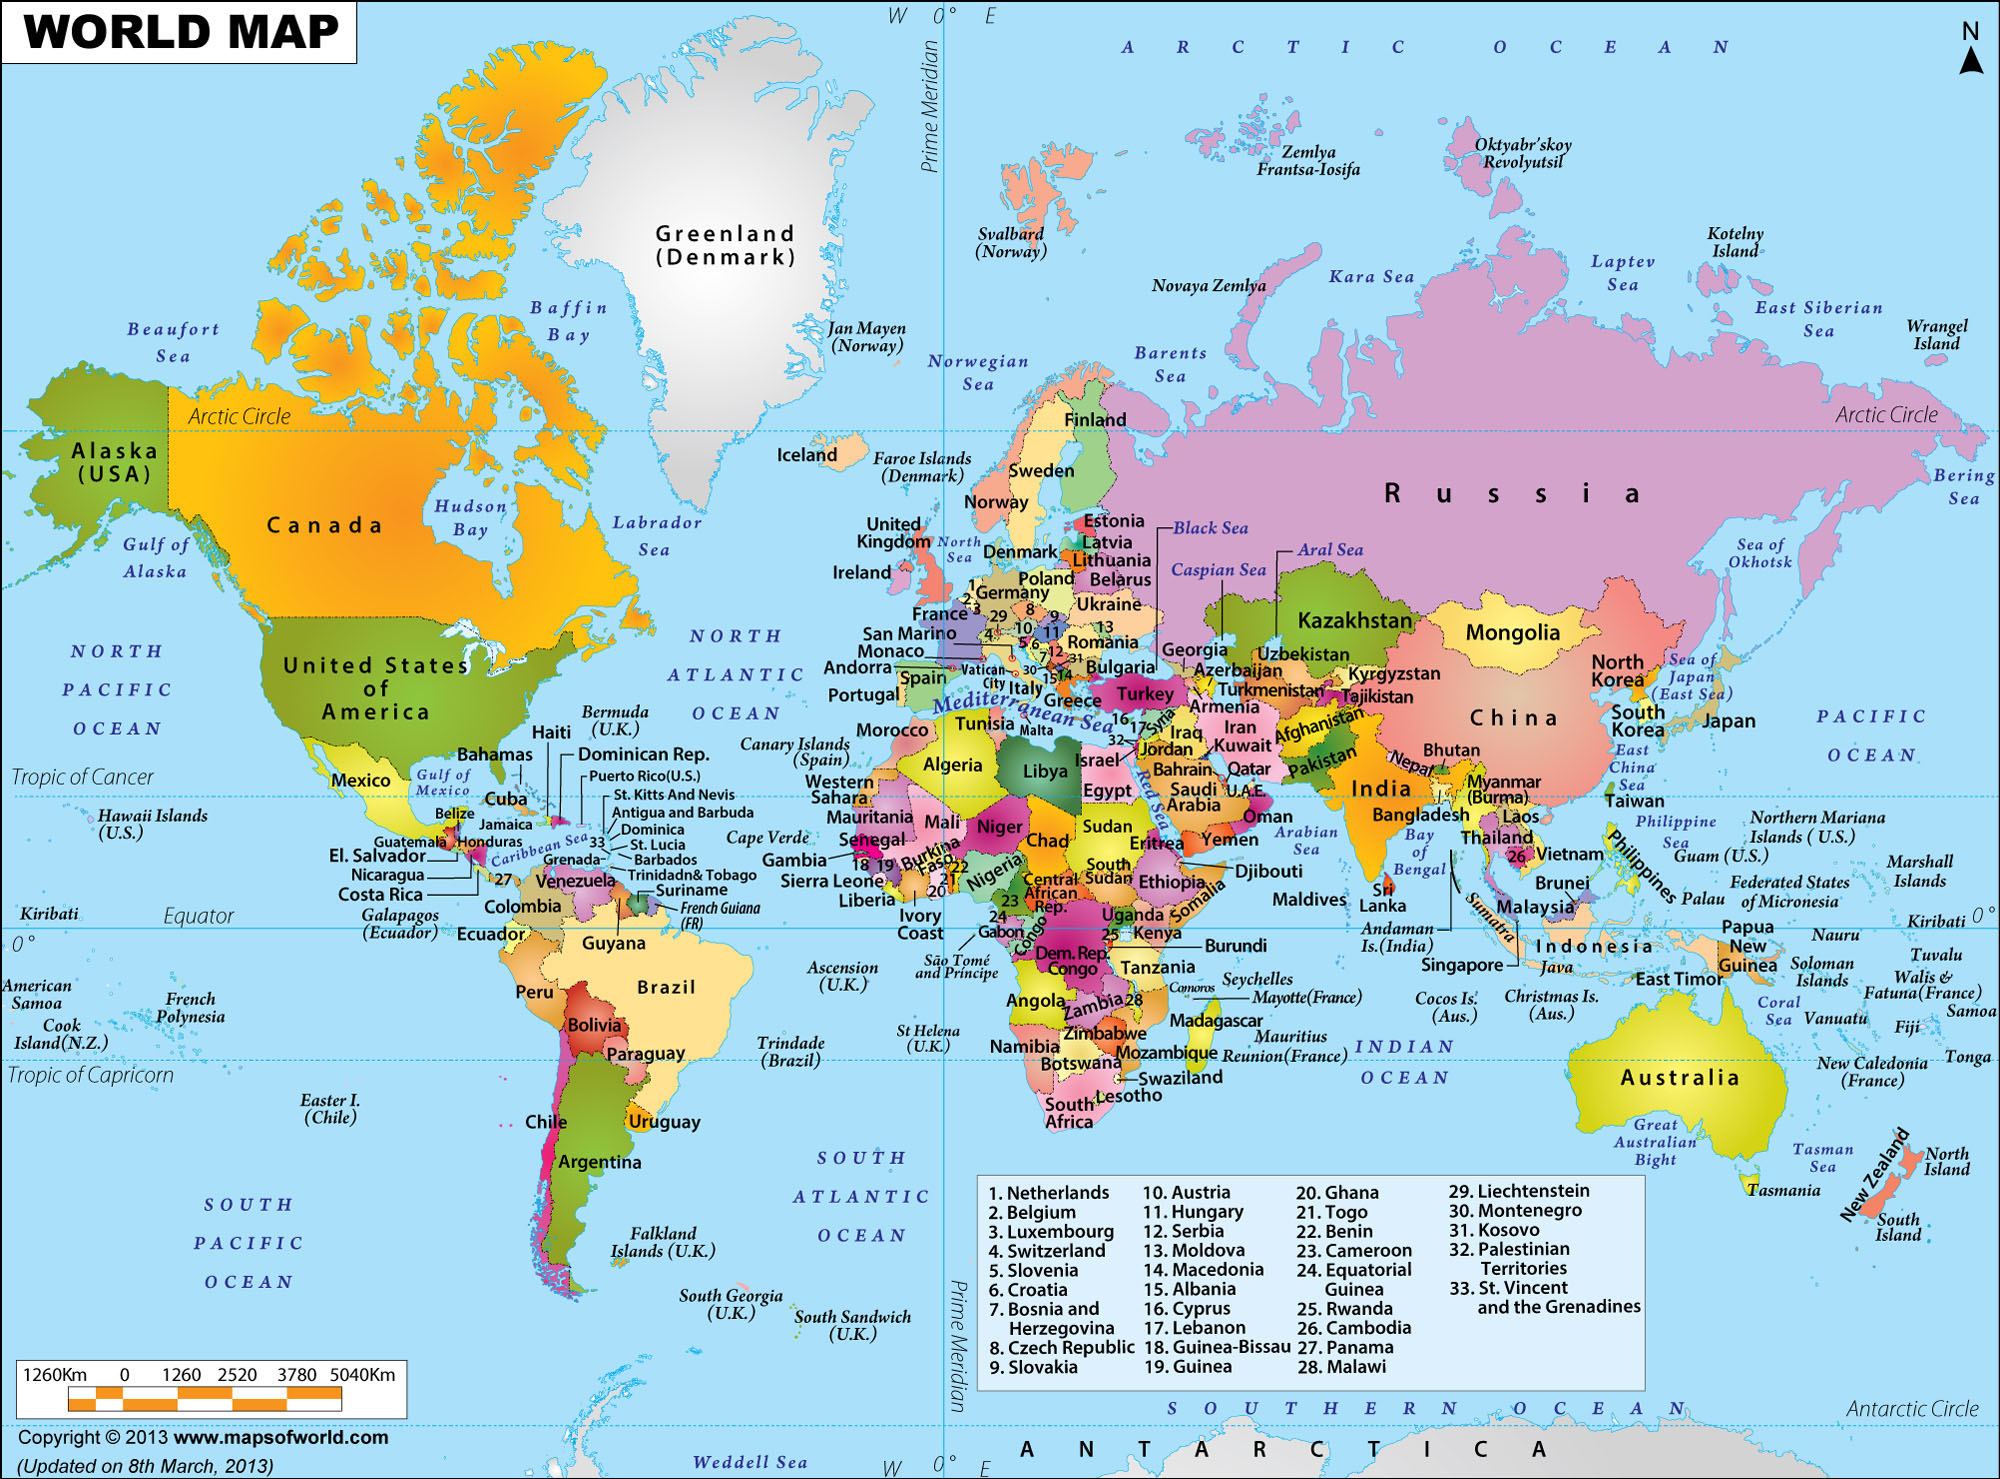
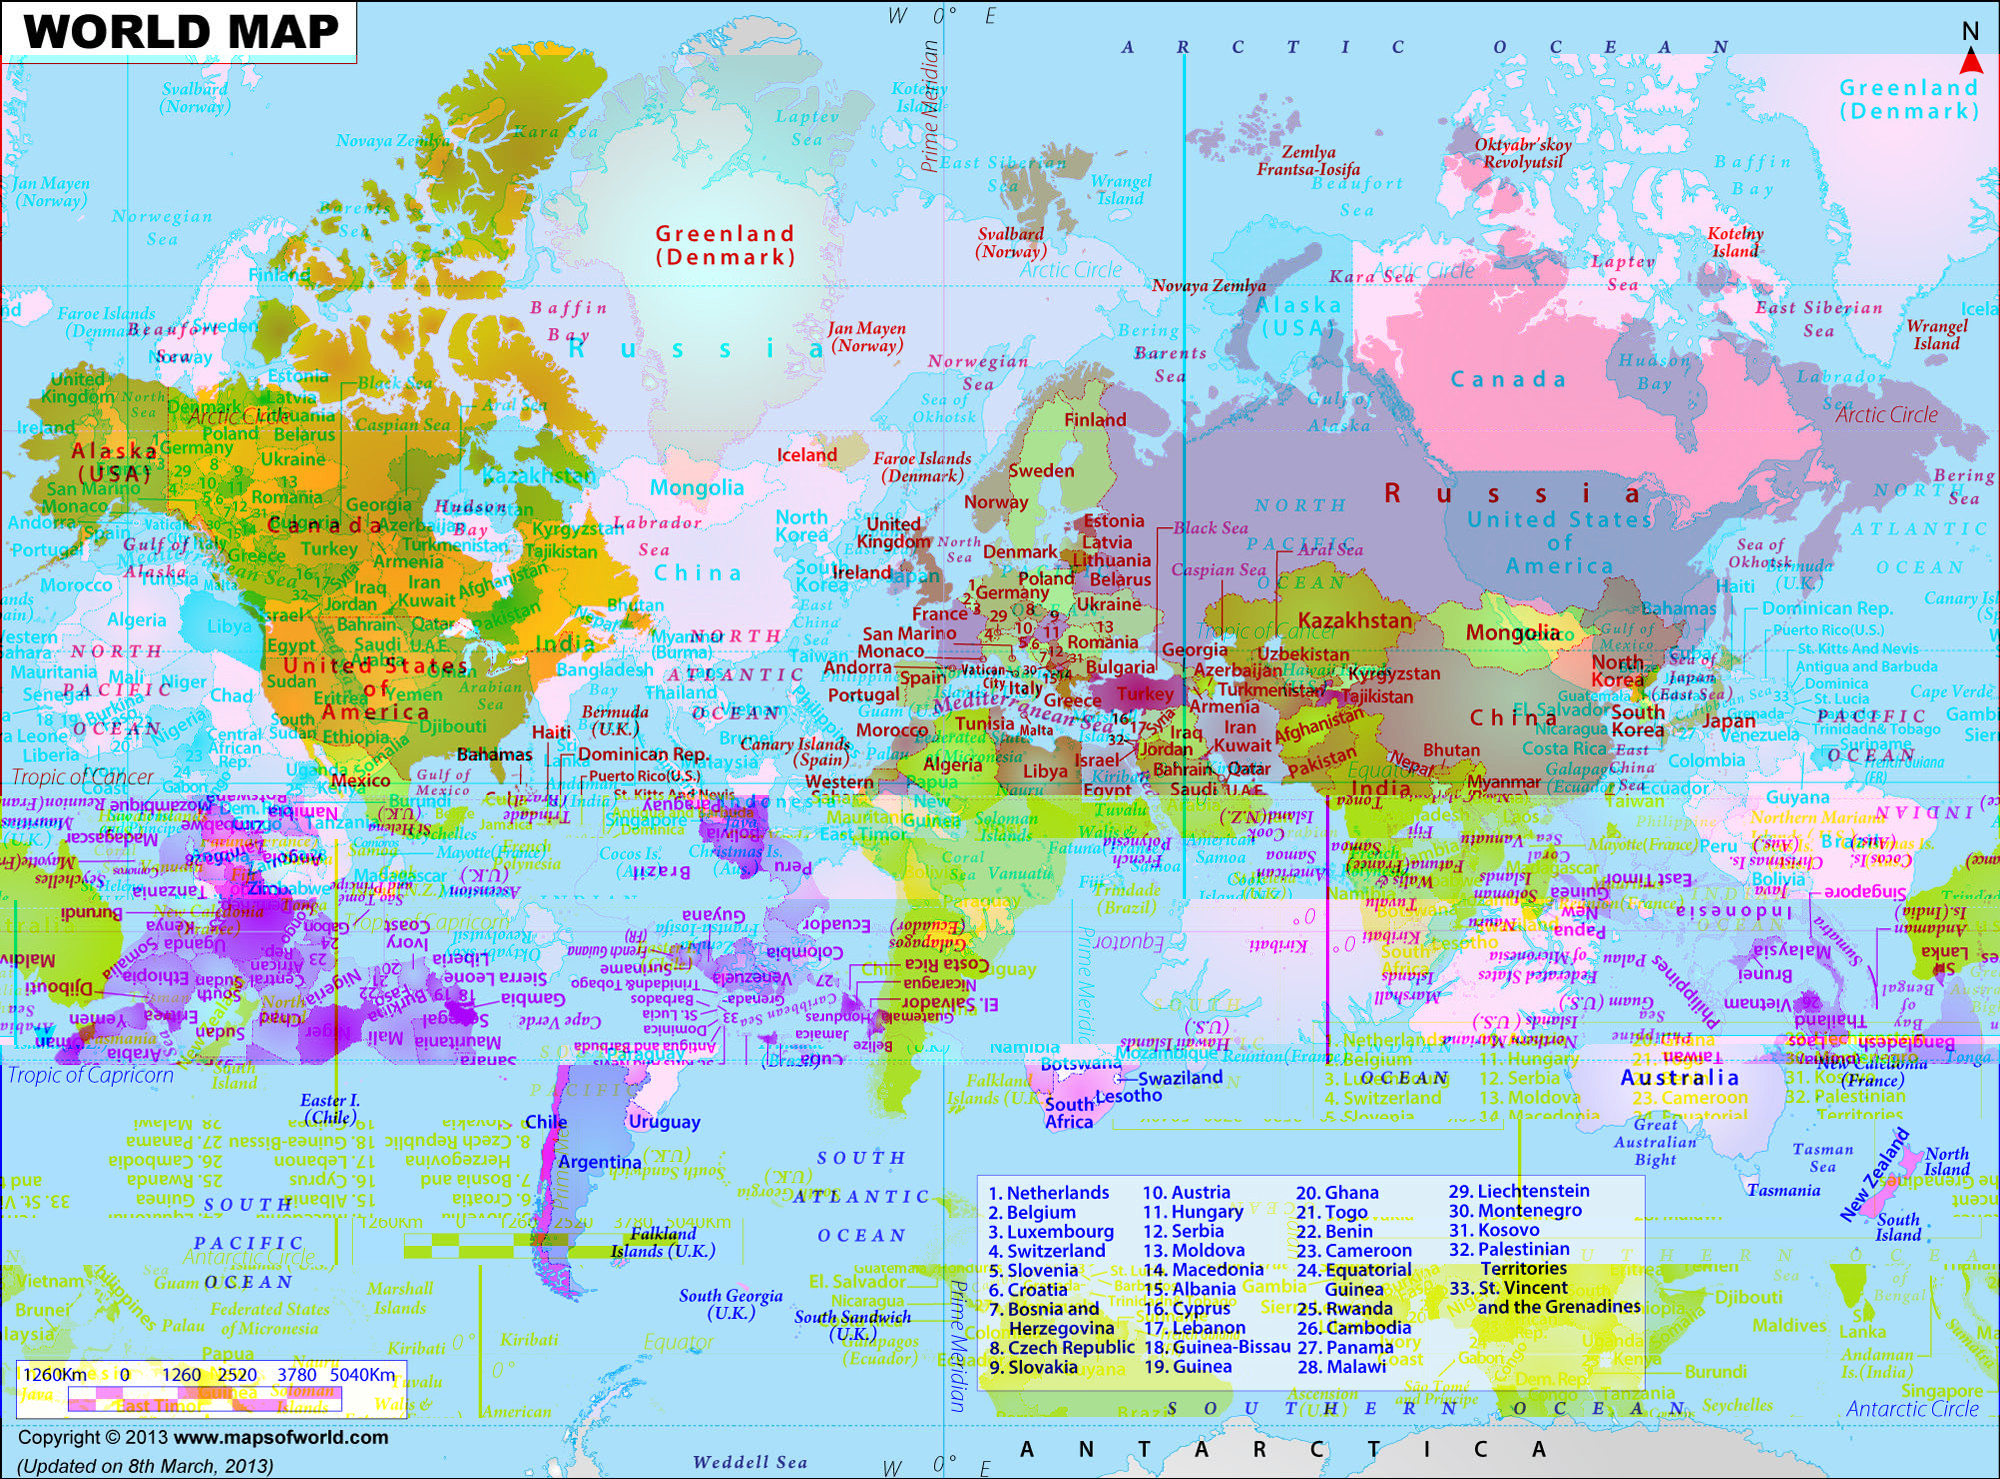
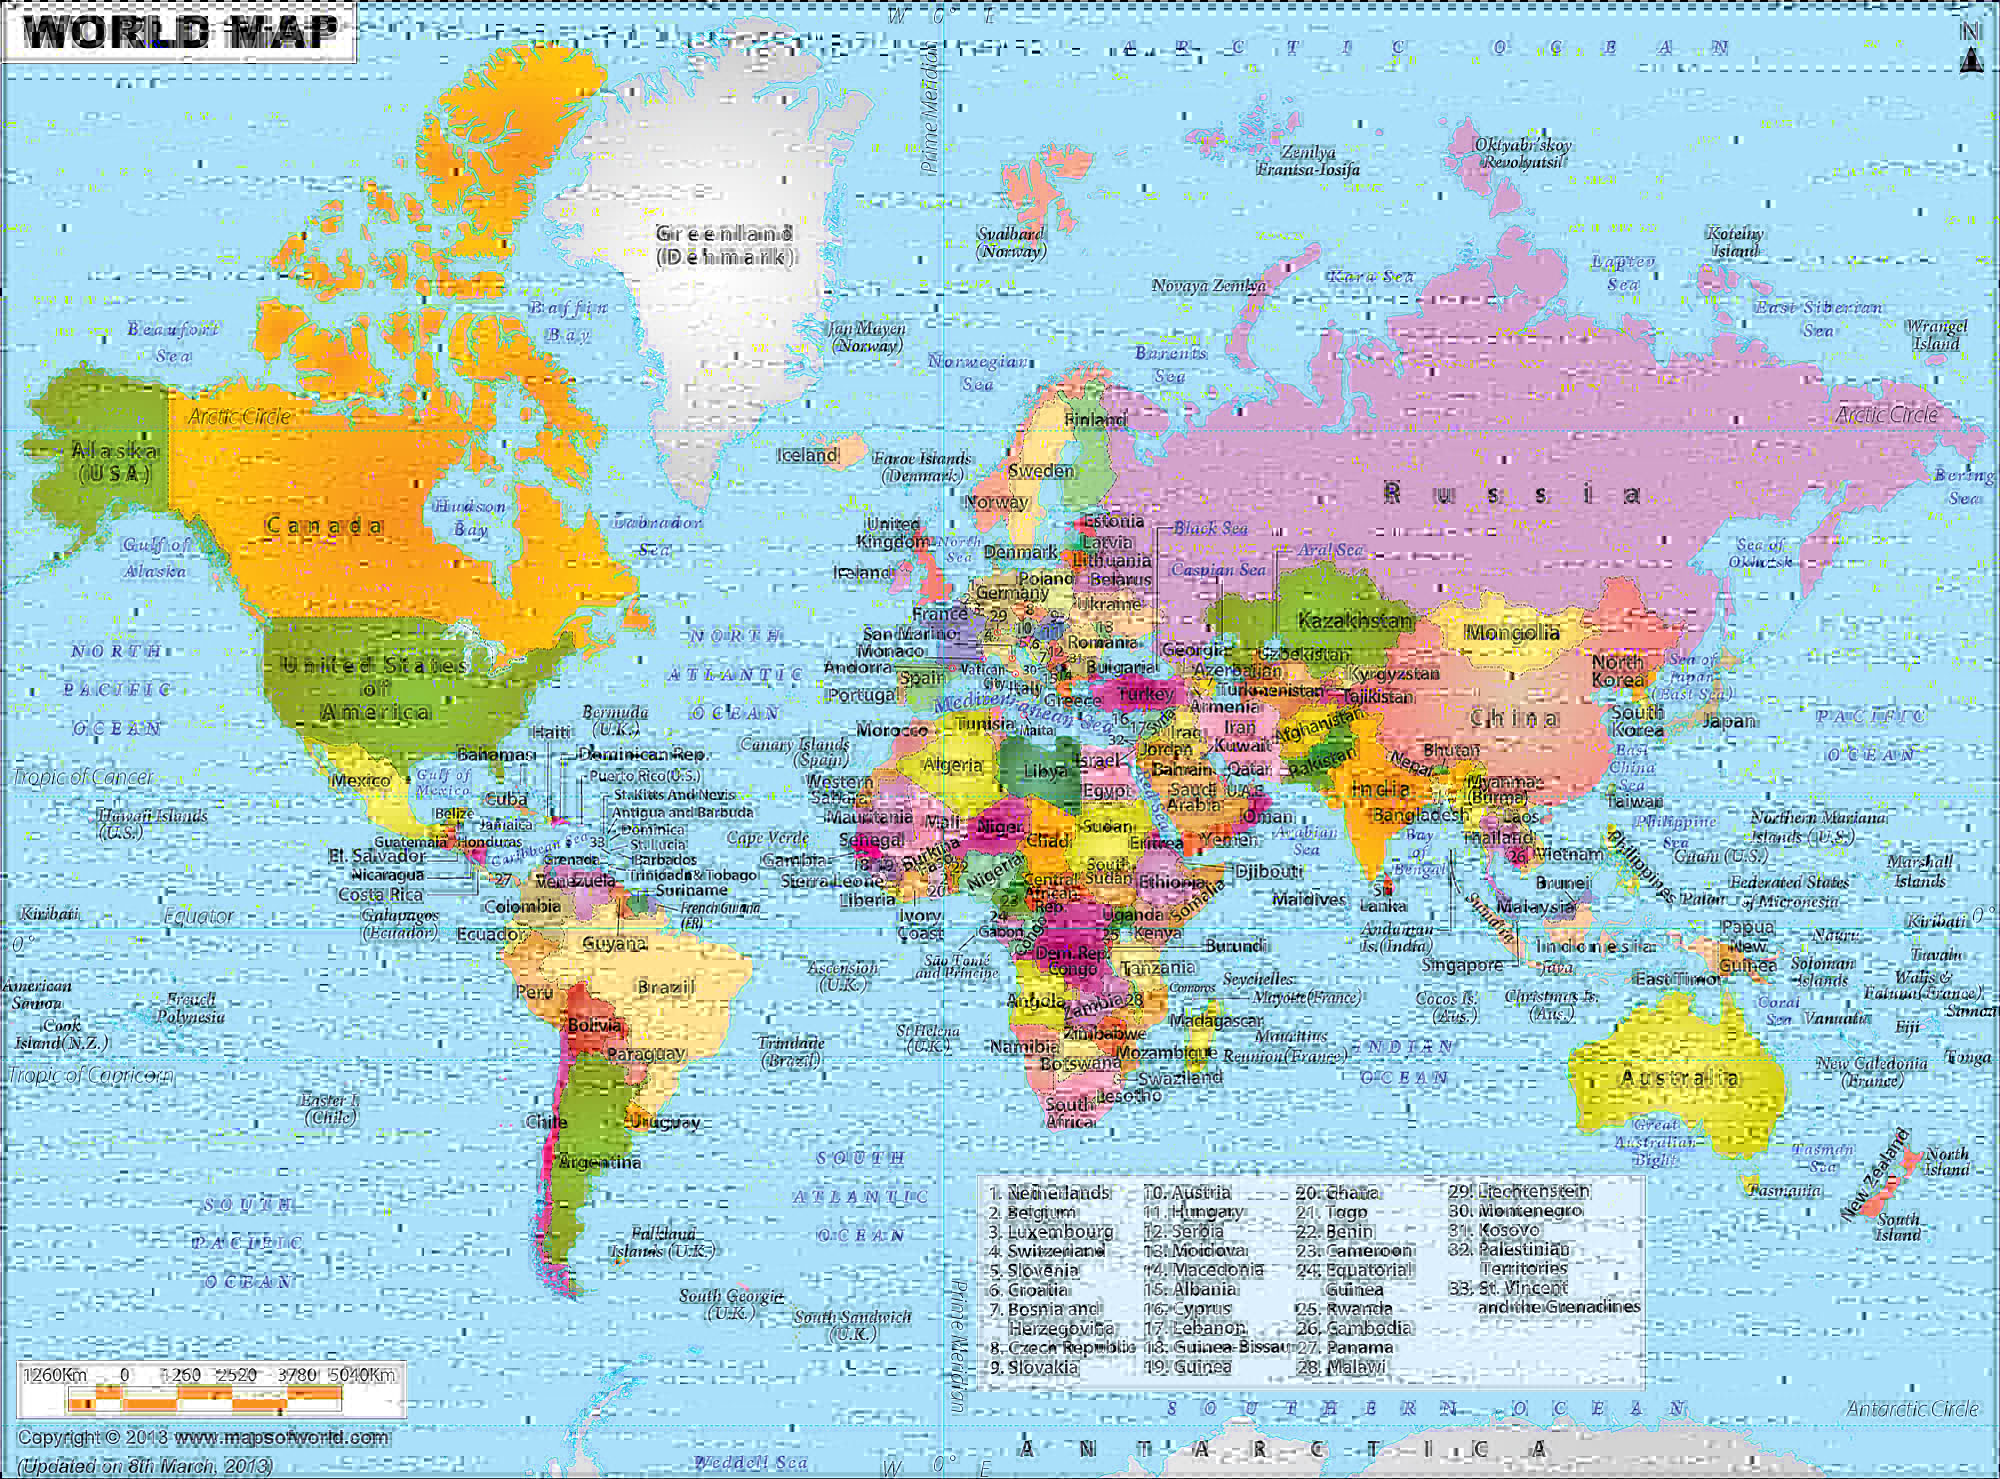
The unfortunate victim of our crime: The world (Right click > View
image, while keeping the Control key pressed, to admire it in more
details while its still in its pristine form):
Before we begin, let’s attempt to define what we’re trying to do: What
is glitch art?
Like any art movement, words can barely express the essence behind the
meaning, they are but fleeting and nebulous. Regardless, I’ll be an
infidel and valiantly express what I think glitch art is.
A glitch is a perturbation, a minor malfunction, a spurious signal. In
computers, glitches are predominantly accidental events that are
undesirable and could possibly corrupt data.
Glitch art started as people developed a liking for such unusual events
and the effects glitches had on the media they were perturbing. Some started
to collect these glitches that happened naturally in the wild, and others
started to intentionally appropriate the effects by manually performing them.
In the art scene, some started using image processing to “fake” true
glitching effects.
Glitches happen all the time and everywhere, information is never as
durable and reliable as we might like it to be, and living in a physical
world makes it even less so. You’ve probably encountered or heard of the
effect of putting a magnet next to anything electronic that hasn’t been
rugged to withstand such scenario.
That’s why many techniques have been put in place to avoid glitches,
at all layers, from the hardware storage, to the software reading
and interpreting it. Be it error correcting codes (ECC) or error detection
algorithms, they are all enemies of glitch art and the chaos we like.
However, this niche aesthetic is more than a fun pass-time for computer
aficionado, there is a bigger picture. Similar to painters with
brushes on a canvas, we are offered a material, an object to work with
— a material made of bits and formatted in a specific way.
Like any object, our medium has a form and meaning, it can move, it has
a size, it can be transferred, and interpreted — information theory
is the field interested in this.
Like any object, our medium can be subject and react to deformations,
forces, and stressors. How it flows is what the field of rheology
is interested in (not to be confused with computational rheology, the
field of fluid simulation.) The medium fluidity can be studied to answer
questions such as: is it elastic, solid, viscous, or oily, how does it
respond, within the bound of information theory, to different types of
applied forces.
Here are some words you may encounter and that you definitely want to know:
-
Misregistration: Whenever a physical medium misread data because of damages caused by scratches, dirt, smudges, gamma rays, or any other treasures the universe throws at us.
-
Datamoshing, Photomosh, Imagemosh: Abusing the format of a medium, normally compression artefacts, to create glitches. For example, video compression often use i-frames for fixed images and p-frame for the movement/transition of pixels on that image. Removing i-frames is a common glitching method.
-
Databending: An idea taken from circuit bending, bending the circuit board of a toy to generate weird sounds. Databending is about bending the medium into another unrelated one, reinterpreting it as something it is not meant to be.
Let me add that glitch art is vast and fascinating, this article is but a glimpse into this space. If you’re captivated as much as I am, please take a look at gli.tc and Rosa Menkman’s Beyond Resolution. Images can be pleasantly destroyed in a great number of ways to create masterpieces.
I̷m̷a̷g̴e̴ ̸G̸l̴i̴t̴c̵h̸ ̴A̶r̵t̵
Before starting let’s give some advices:
- Back up your precious files before corrupting them.
- Any glitching techniques can be combined and/or applied multiple times.
- Sometimes too little has no effect, and sometimes too much can destroy the file.
- It’s all about trials and errors, especially errors that result in glitches.
̷H̷o̵w̶ ̵T̸o̴ ̶I̷n̶d̸u̷c̶e̵ ̶A̸ ̶G̸l̵i̷t̶c̸h̴
Now it’s time to think about how we can apply our mischievous little stimuli, its size, the level or layer at which it’ll be applied, and the methodological recipe we’ll concoct to poison our images.
Glitch artist Benjamin Berg classifies glitches into 3 categories:
- Incorrect Editing: Editing a file using a software that wasn’t made to edit such file. Like editing an image file as if it was a text file.
- Reinterpretation aka Databending: Convert or read a file as if it was another type of medium. Like listening to an image file as if it was an audio file (aka sonification).
- Forced errors, Datamoshing, and Misregistration: A software or hardware bug to force specific errors in the file. This can be about the corruption of specific bytes in the file to induce glitches, or something happening accidentally like a device turning off when saving a file.
So let’s get to work!
M̷a̵s̵h̸i̶n̶g̷ ̴T̶h̷e̷ ̷D̶a̸t̵a̸ ̸R̷a̸n̶d̶o̸m̴l̵y̷
The easiest, but roughest, way to glitch a file is to put on our monkey suit and overwrite or add random bytes in our image. As you would have guessed, this isn’t very efficient but half the time it does the trick and forces errors.
This technique is better suited for stronger materials like images in
raw format — without metadata and headers. We’ll understand why in a bit.
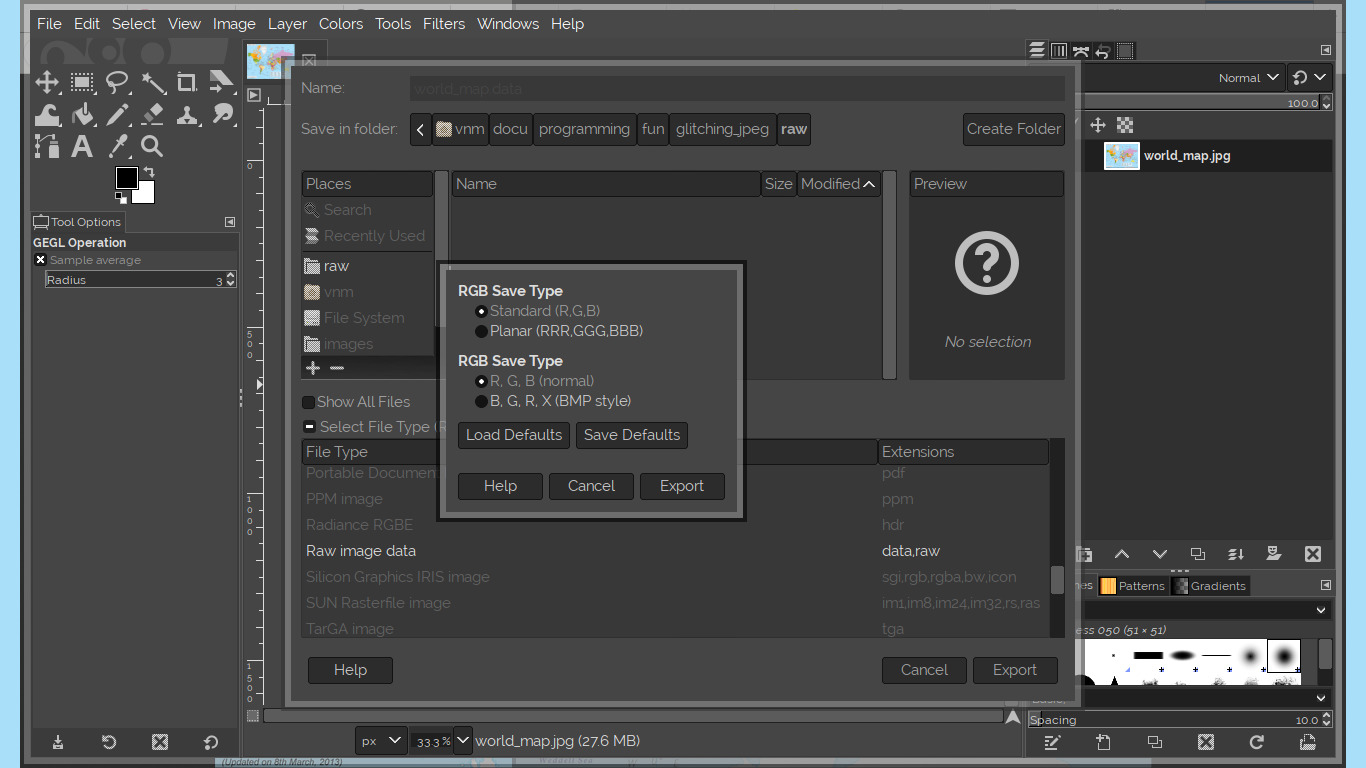
To convert the file to raw format, open it in GIMP, select Export As,
select the file by extension, and choose the raw type. For now, it doesn’t
matter if you pick pixel-ordered or planar, but we’ll come back to this
choice later because it’s an important one.
file world_map.data
# world_map.data: Targa image data - Map (771-3) 771 x 259 x 1 - 1-bit alpha "\003\003\003\003\003\003\001\001\001\001\001\001\001\001\001\001\001\001\001\001\001\001\001\001\001\001\001\001\001\001\001\001\001\001\001\001\001\001\001\001\001\001\001\001\001\001\001\001\001\001\001\001\001\001\001\001\001\001\001\001\001\001\001\001\001\001\001\001\001\001\001\001\001\001\001\001\001\001\001\001\001\001\001\001\001\001\001\001\001\001\001\001\001\001\001\001\001\001\001\001\001\001\001\001\001\001\001\001\001\001\001\001\001\001\001\001\001\001\001\001\001\001\001\001\001\001\001"
You should also note the width and height of the image as it now doesn’t
contain this information anymore, and we’ll need those to reopen it in
GIMP. In our case it is 2000x1479.
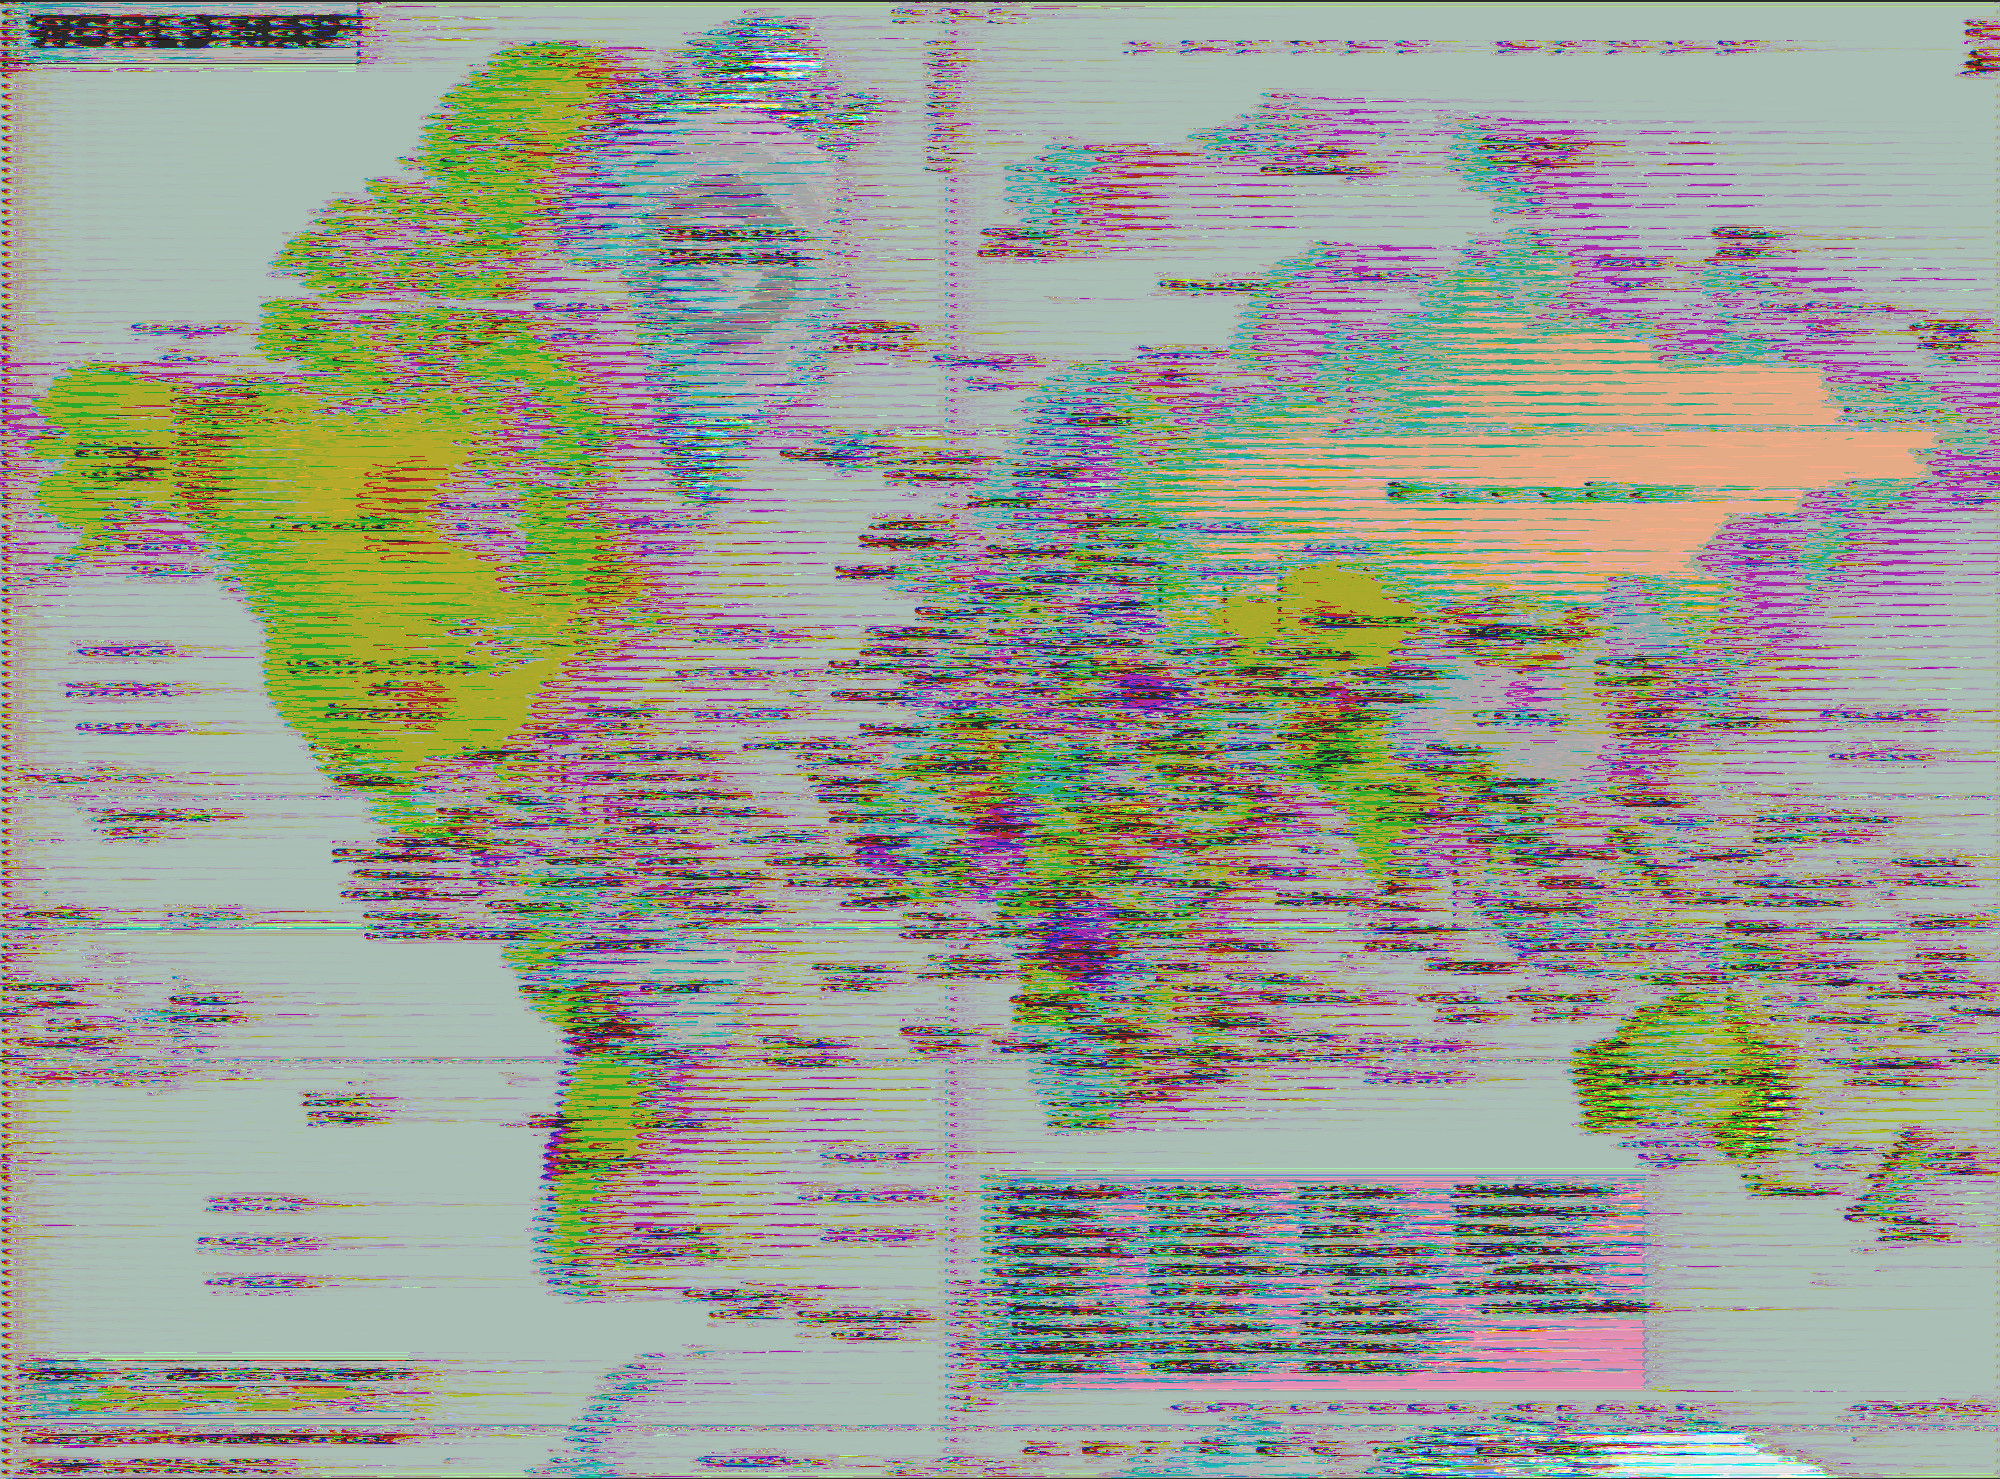
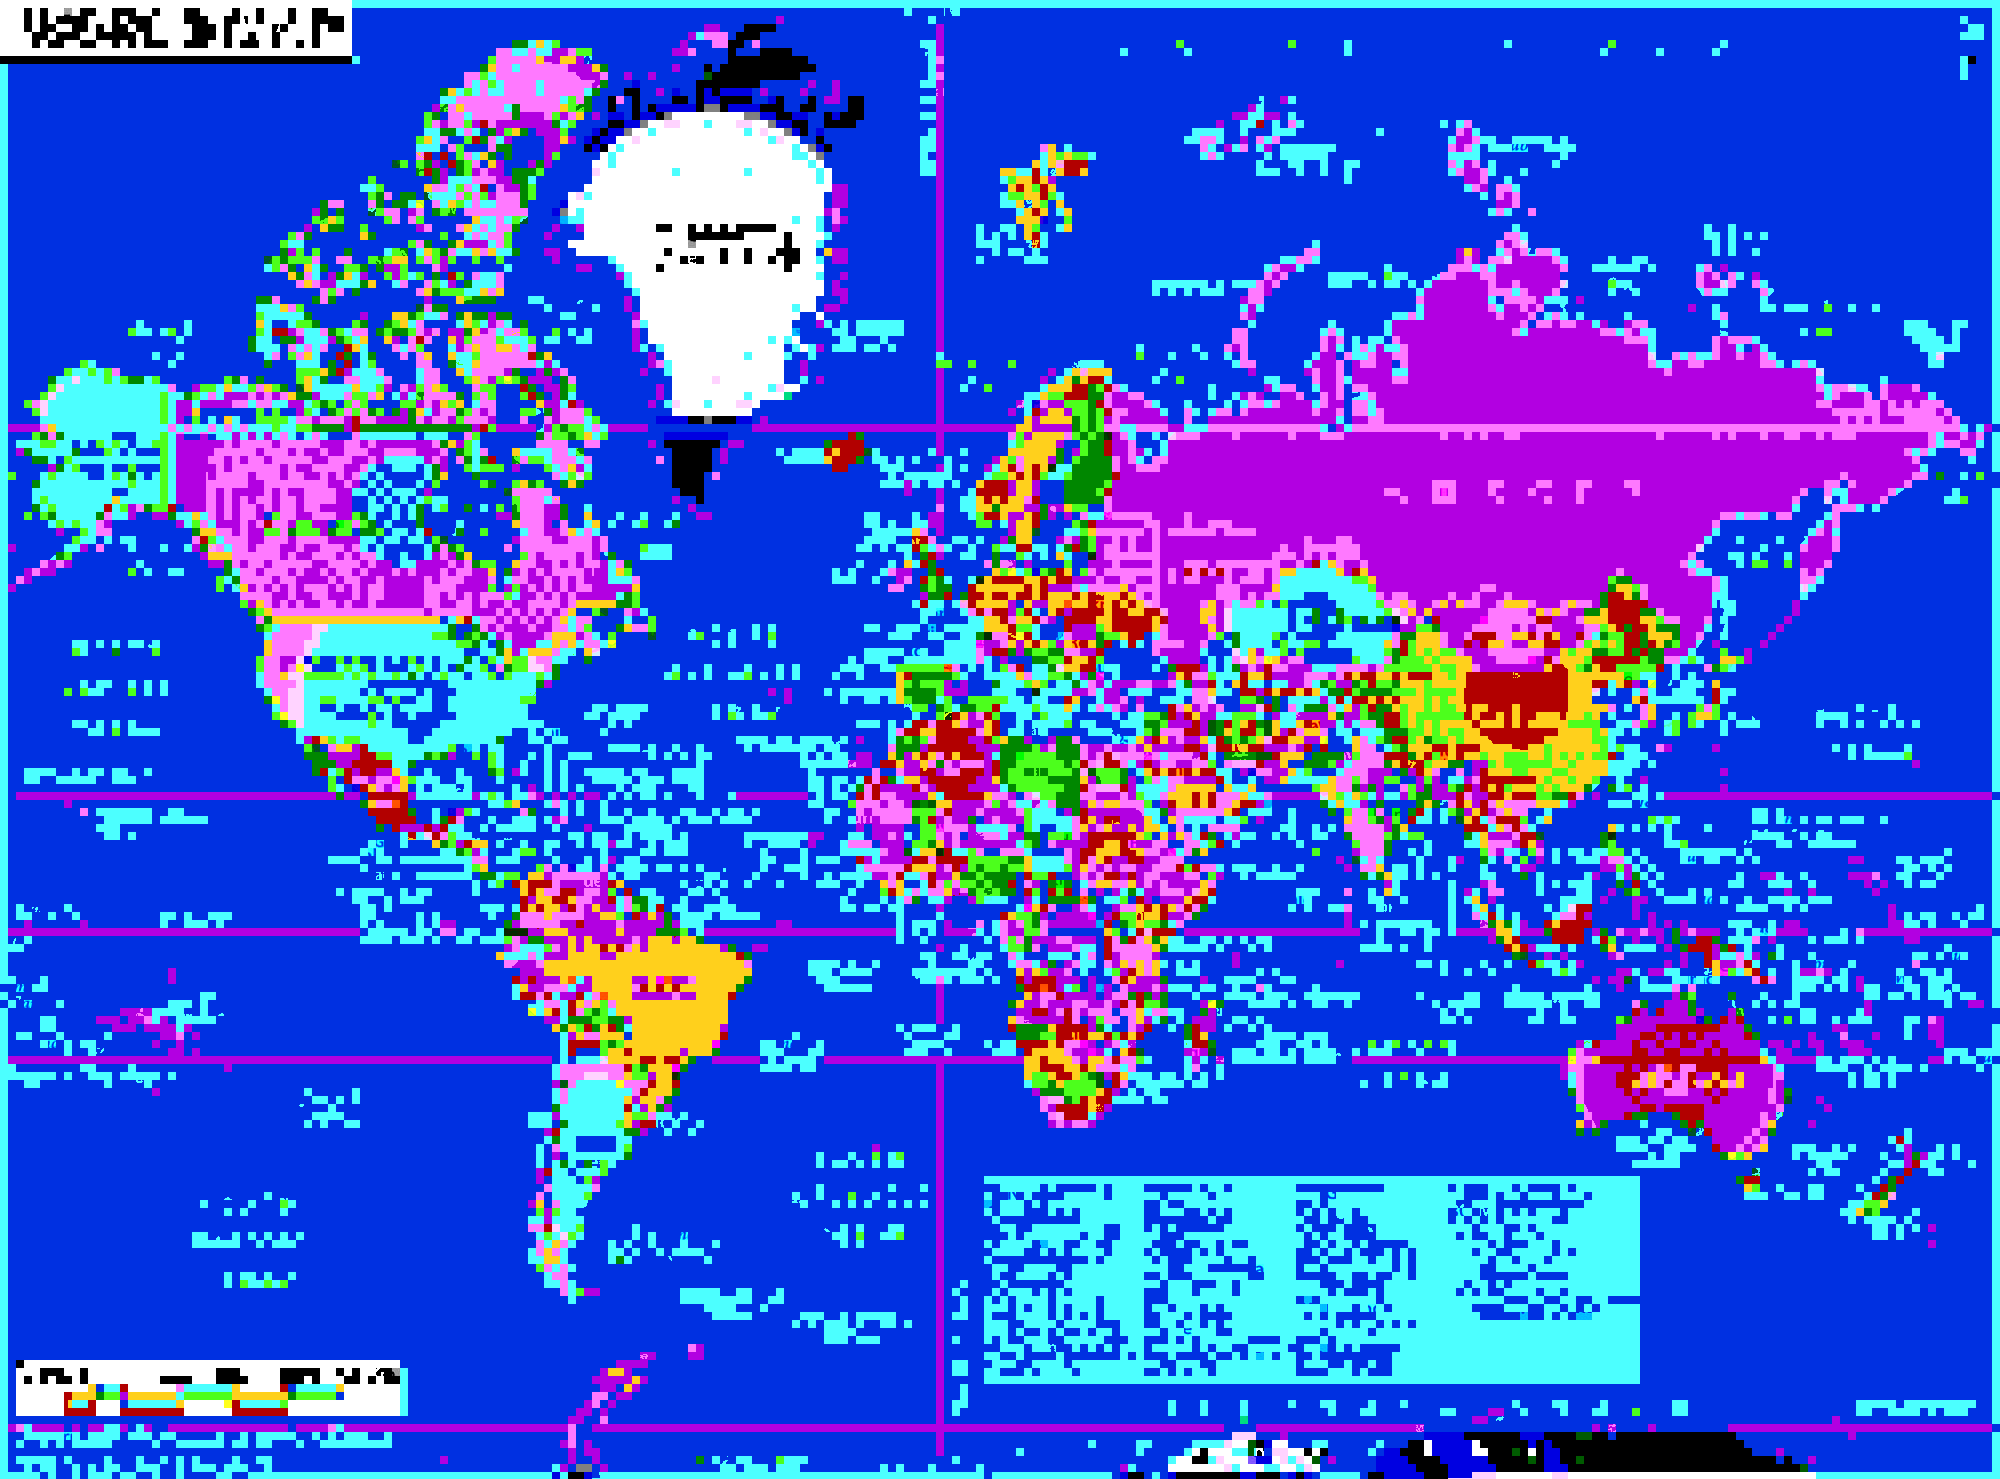
We now proceed to hand over the file to our least favorite staff and let them have an anger tantrum at it. So what does it look like, let’s take a look at the result our monkey did:
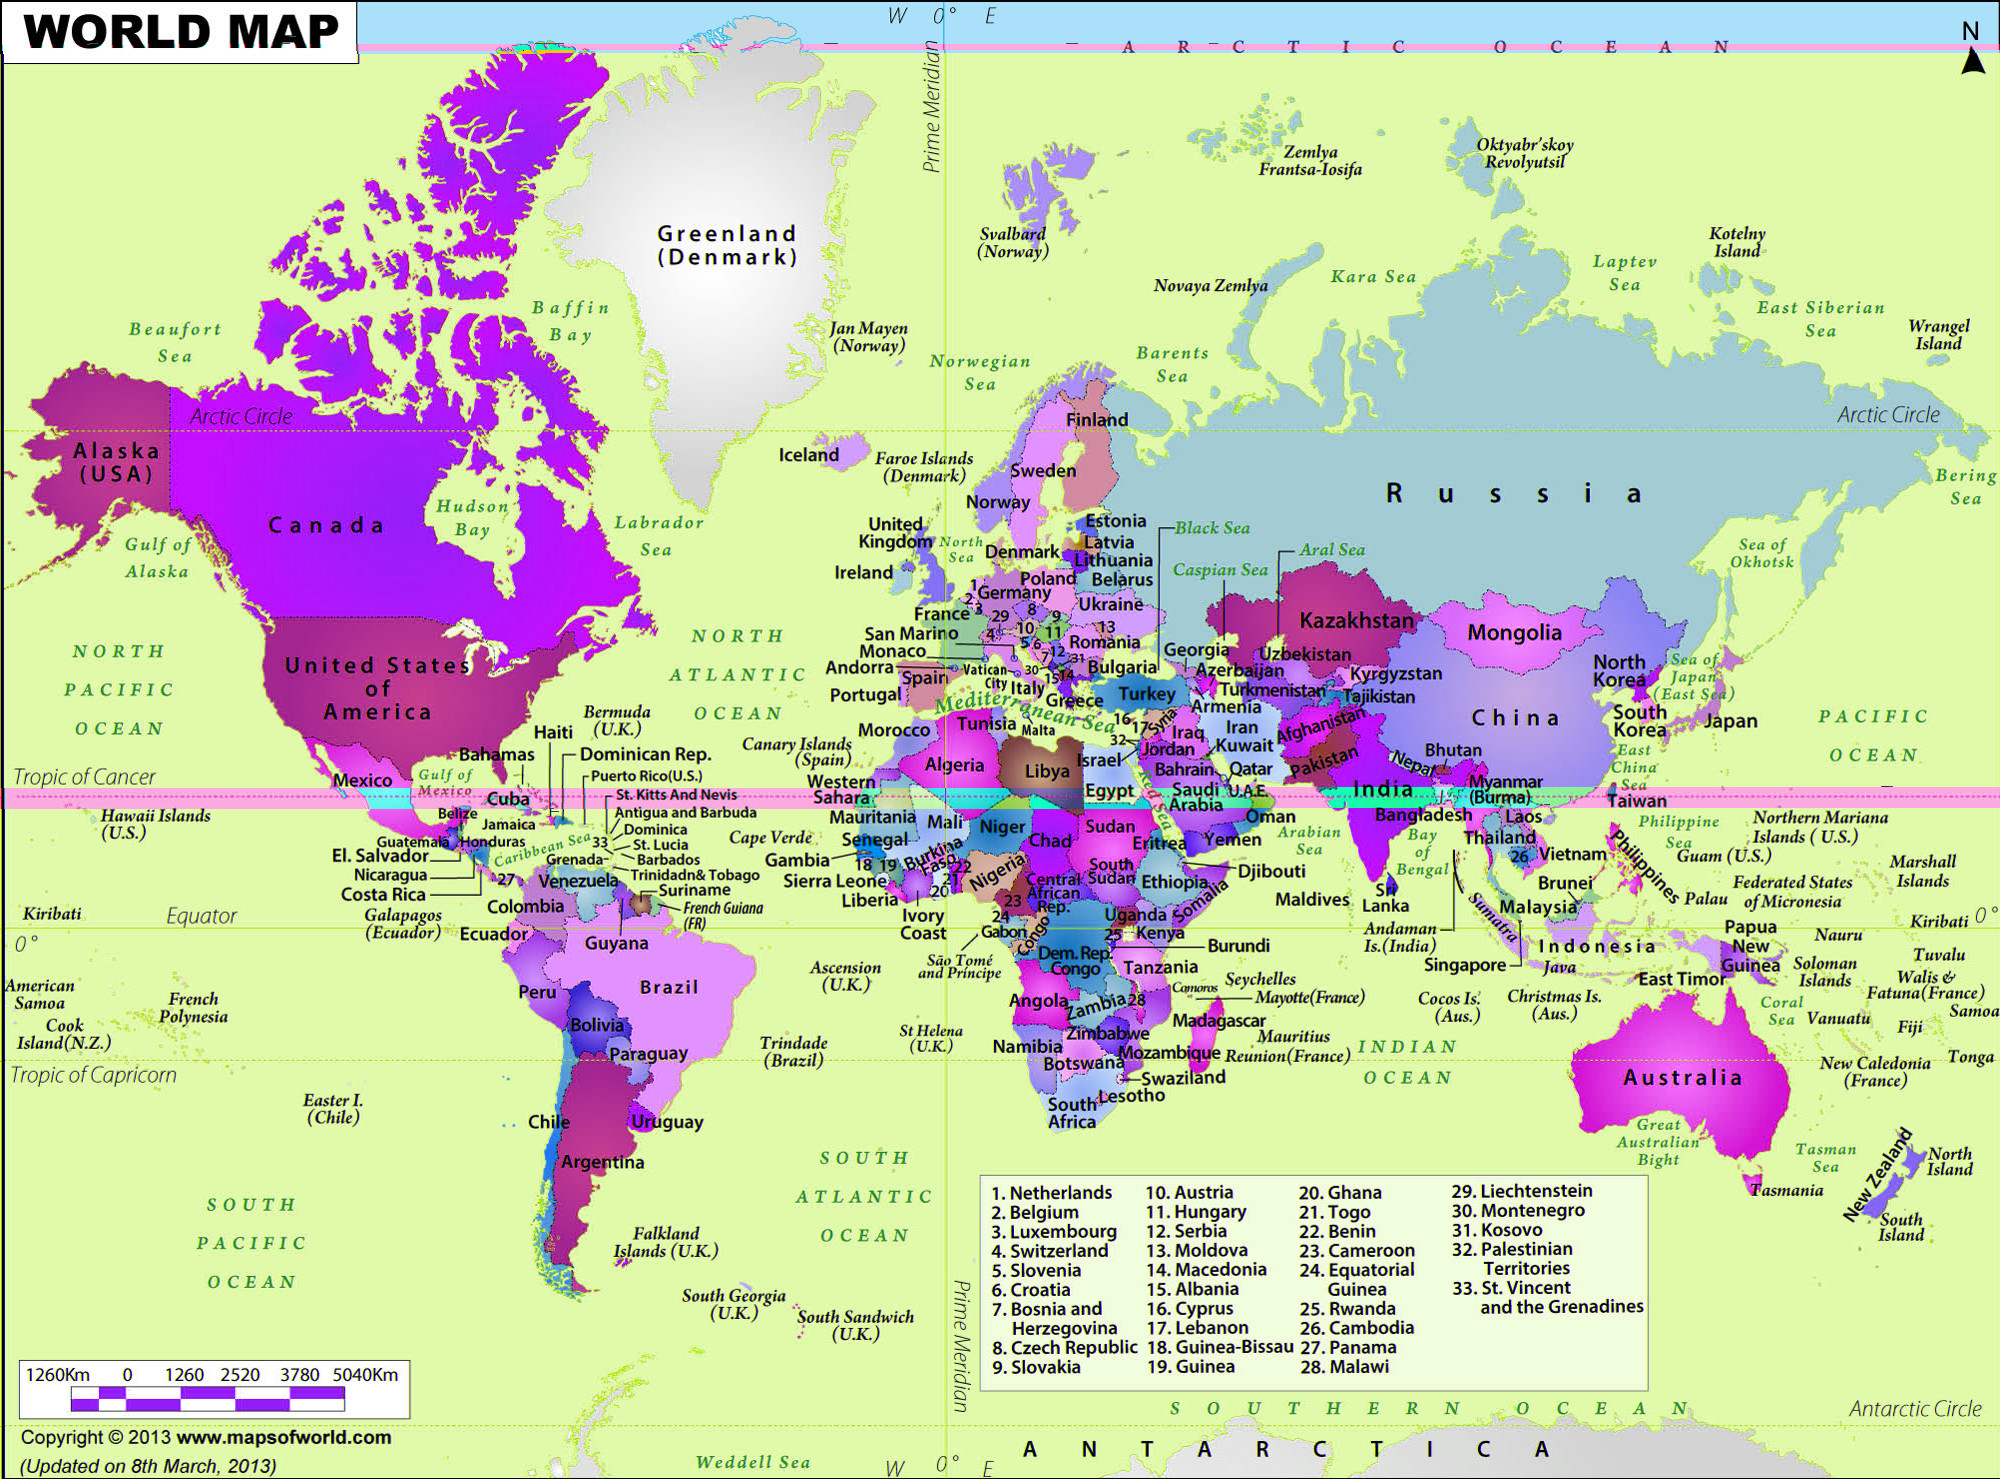
Not bad at all for something random, but we can do better.
C̸o̶m̸p̷r̶e̷s̸s̵i̸o̶n̴ ̶D̵e̵f̶o̶r̴m̷a̶t̷i̵o̸n̷
Some medium are more malleable when squished properly and squished
in different ways. The image sheds a lot of information and only the
essence stays. That’s a form of databending.
For example, increasing the compression of JPEG images can open the path
for glitches to happen more frequently. This is a key asset, especially
when trying to create errors related to the compression parameters within
the format of the file.
convert -quality 2 world_map.jpg world_map_compressed.jpg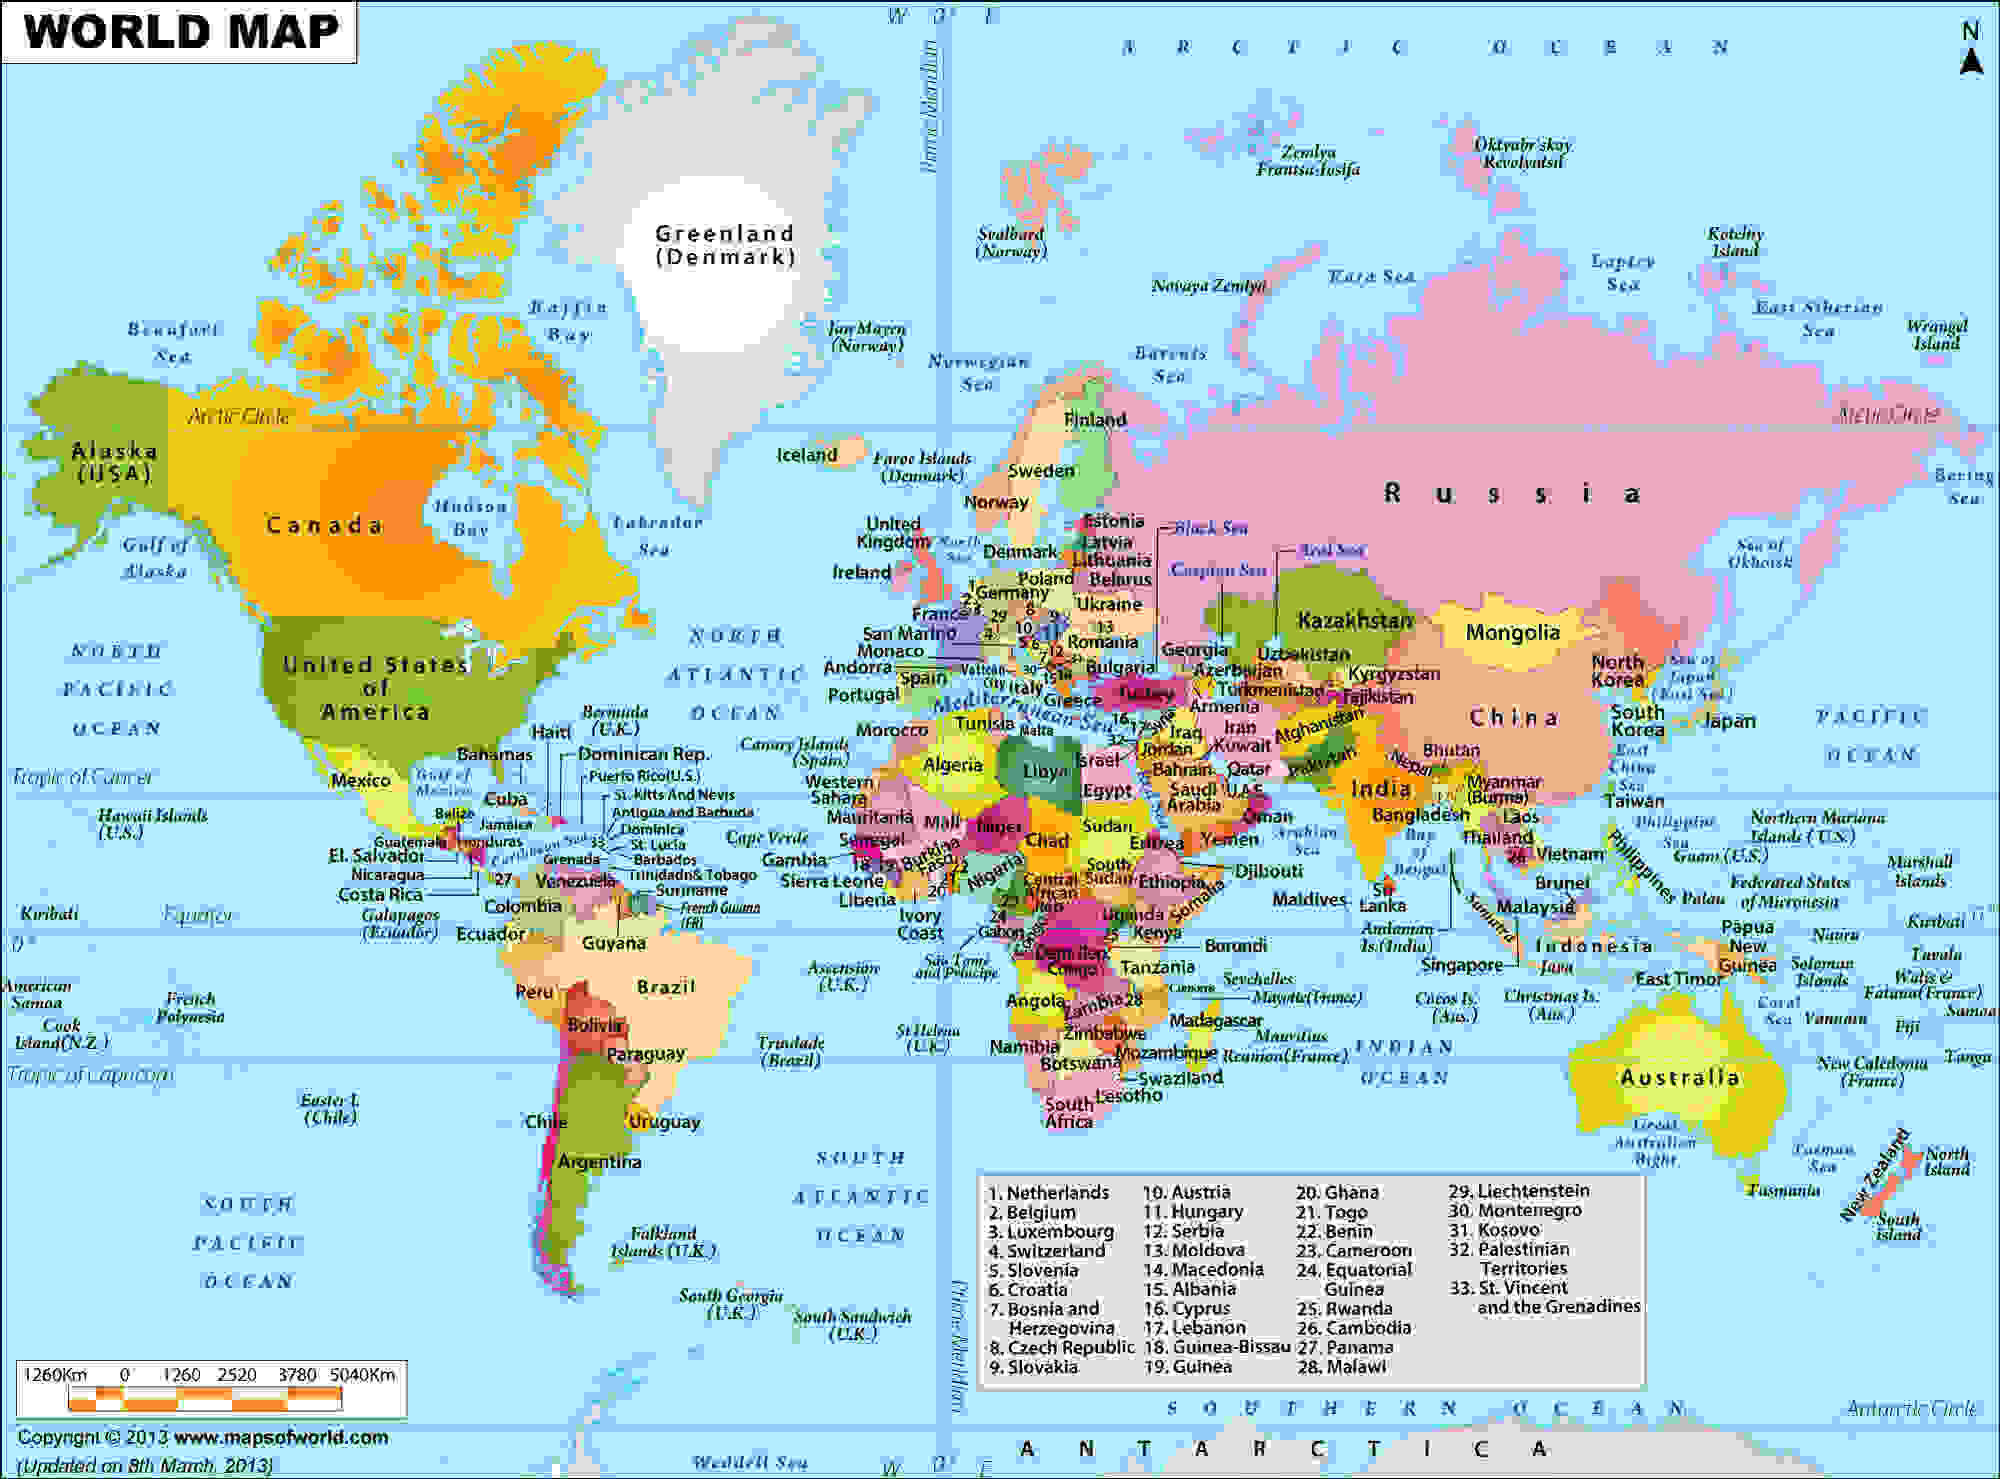
Keep this in your toolbox to use along with other techniques.
G̵e̴t̵t̶i̸n̵g̷ ̴I̸n̵t̷i̵m̷a̴t̸e̴ ̸W̶i̵t̸h̶ ̴T̵h̸e̸ ̴F̷o̴r̶m̸a̴t̷
We want to corrupt in the most efficient way possible, to create attractive chaos from the smallest change possible. To do that we have to get intimate with the medium, to understand its deepest secrets, tickle the image in the right places. This is what we previously referred to as imagemoshing.
There’s a panoply of image formats, and they all are special in their own ways. However, there’s still some commonality:
- Header, Footer, and Metadata: If the format contains these extra information, be it extraneous or essential, what they represent, and how they affect the rest of the image.
- Compression: The format can either be compressed or not. When it is compressed, there can be extra bits of information to help other software uncompress the image data.
- How the data is laid out: Usually, the image color information is decomposed into its components such as HSL, RGB, or others. These components then need to be represented in the image data, either in an interleaved or planar manner. Planar refers to writing components independently in the data (ex: all R, then all G, then all B), while interleaved refers to having them joined non-contiguously in an alternate sequence (ex: RGB, then RGB, then RGB..).
Manipulating these to our advantage can lead to wonderful glitches. For example, in our previous raw image example — an image bare of header, footer, and without compression — the pixels were interleaved which gave rise to the effect we’ve seen, namely shifts and changes in some colors. Having them in planar form would’ve led to different glitches in separate color channels.
R̵e̷i̷n̴t̶e̷r̶p̸r̴e̸t̸a̷t̶i̷o̵n̴ ̵A̸s̵ ̵R̸i̷c̵h̸ ̸T̷e̵x̵t̴ ̴A̴K̷A̸ ̷W̶o̴r̵d̴P̴a̸d̵ ̷E̵f̸f̴e̶c̶t̶
Let’s give this a try with the well-known WordPad effect, which is about
databending an image into rich text: opening the image in WordPad and
saving it.
Keep in mind that this only works with raw images as it’s highly
destructive and otherwise could break fragile key info in the header
and footer. So let’s reuse our interleaved raw image of earlier but also
get a planar one.
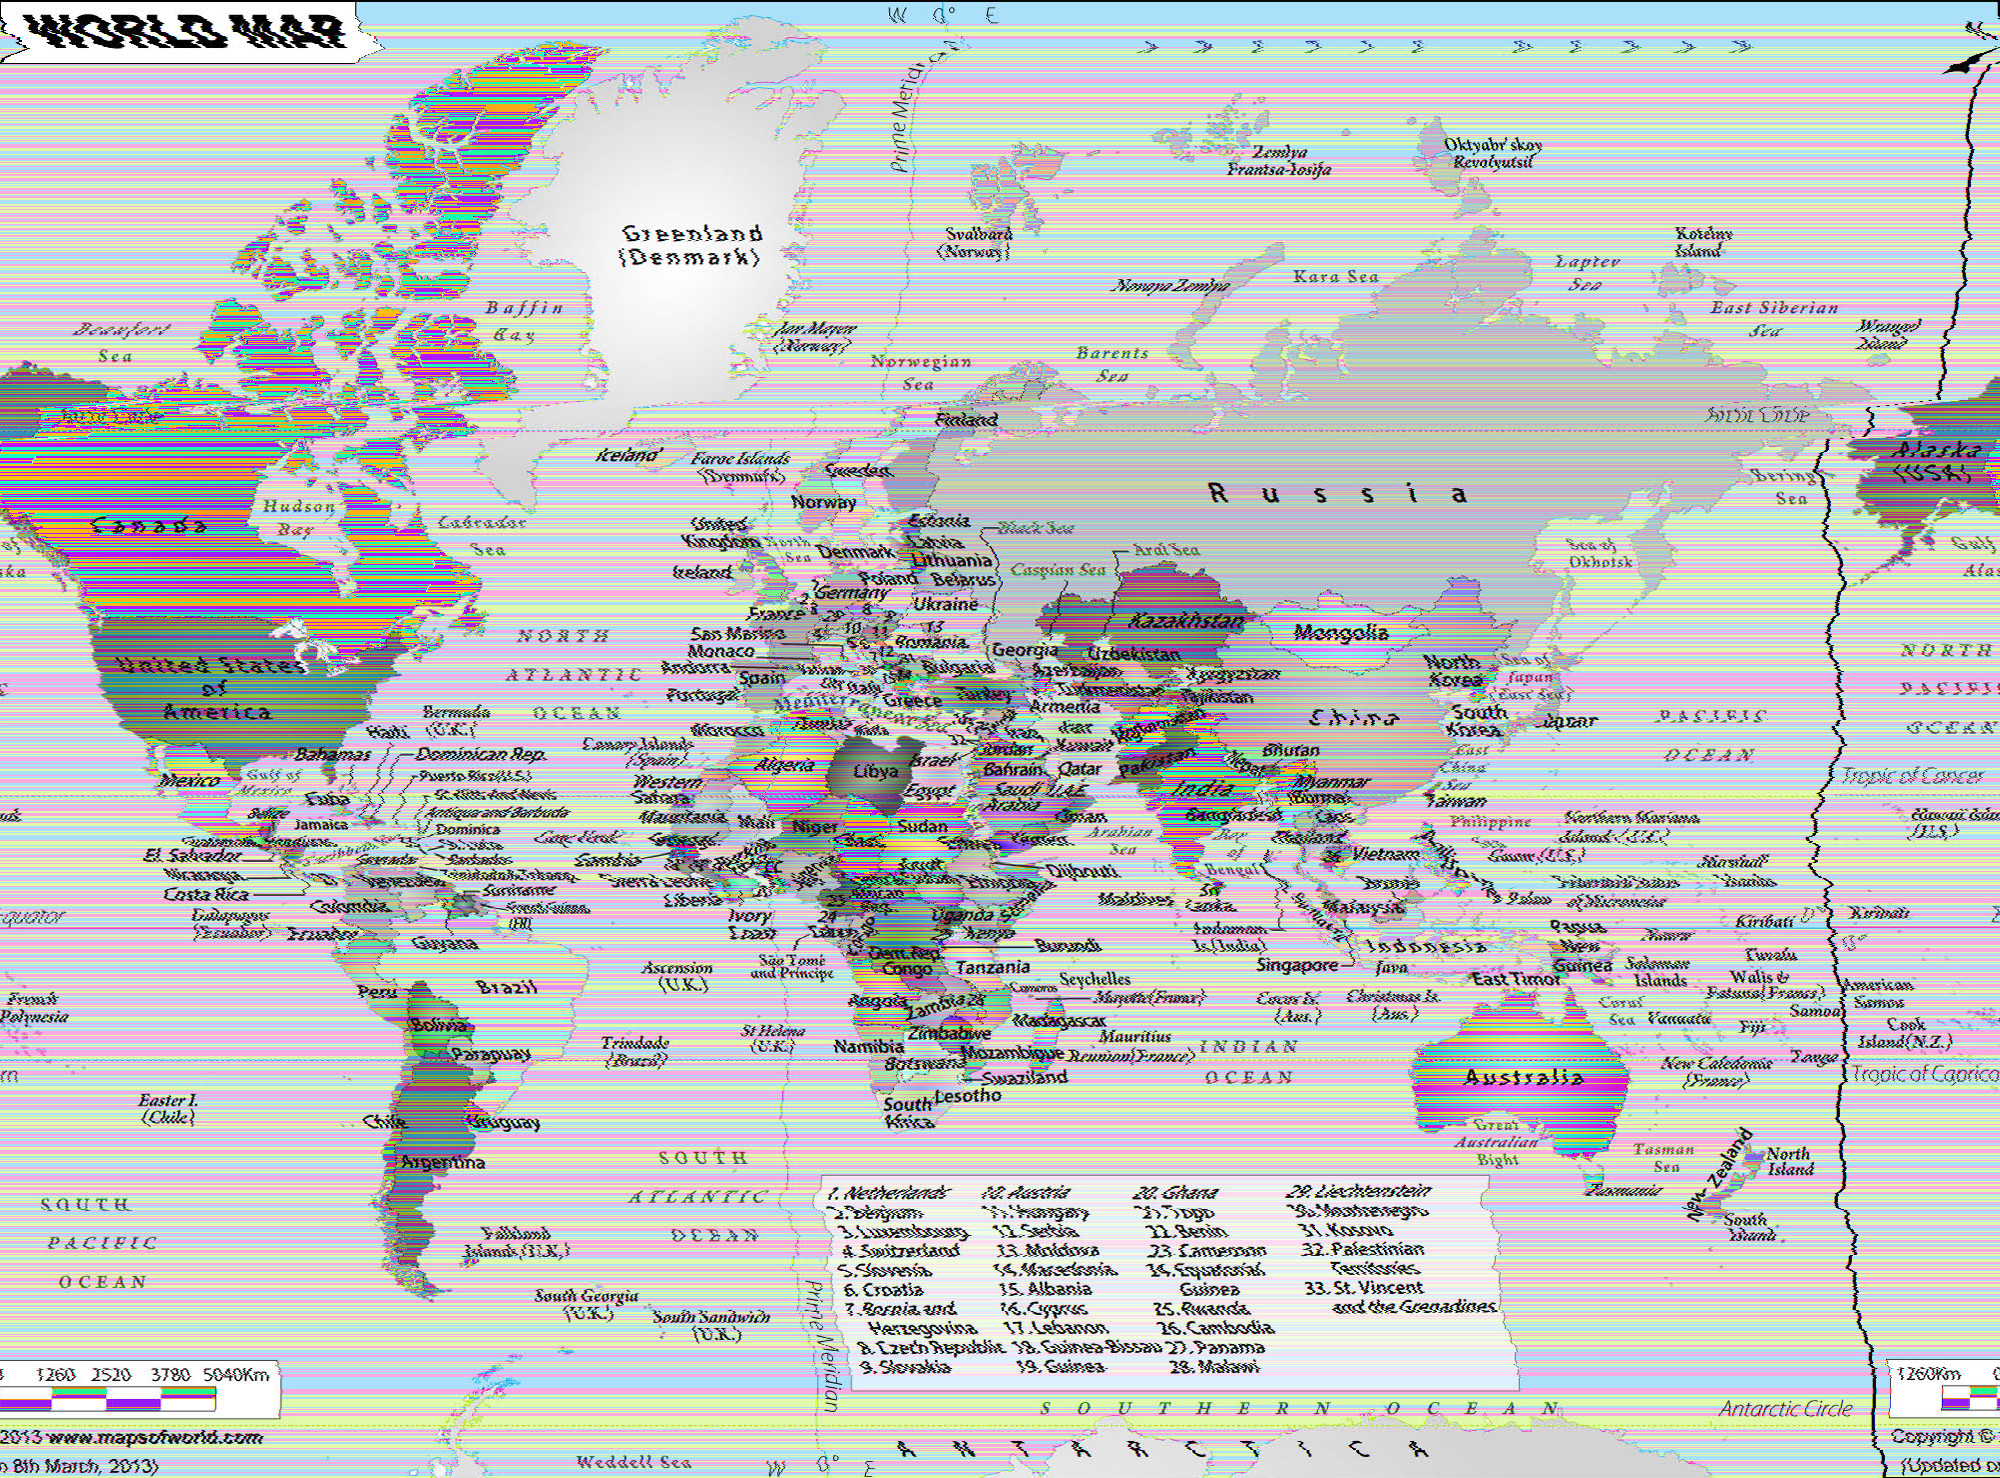
This is our results for interleaved:
And for planar:
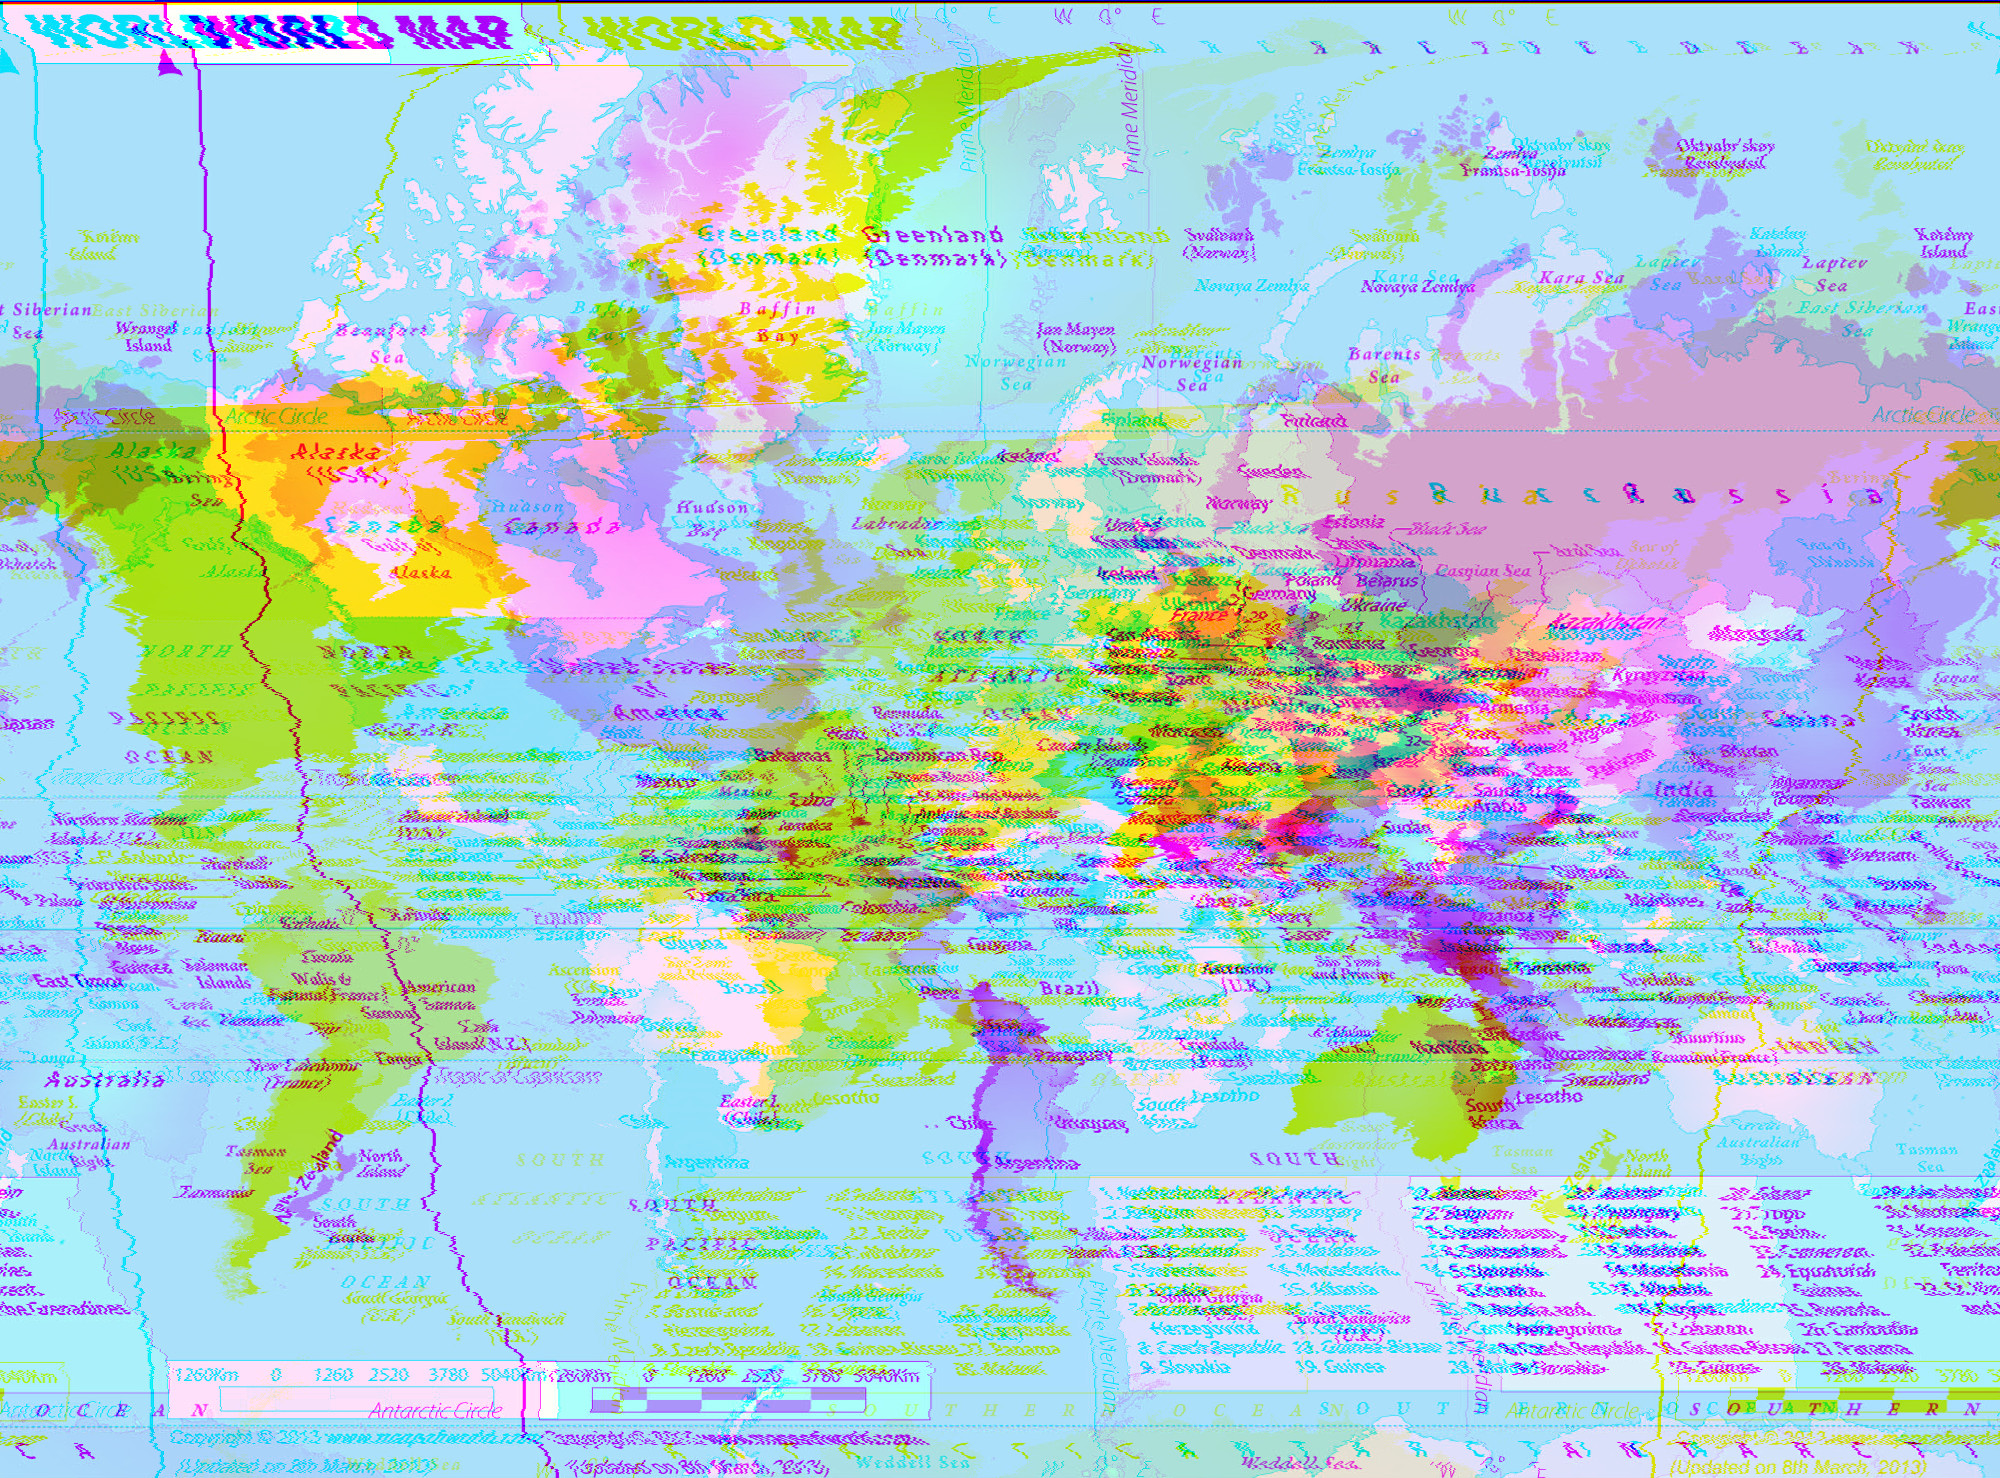
Technically, what happens is that during the bending and interpretations
as rich text, some bytes are inserted in some places and others are
replaced. Namely, carriage return (0x0D aka \r) and line feed (0x0A
aka \n) association needs to be respected, so if one is missing then
WordPad adds it. It also replaces other characters such as 0x07 aka \b
by 0x20 aka a space, but that replacement doesn’t affect much the image.
You can find a code simulating this bending here.
R̸e̵i̶n̴t̵e̷r̴p̶r̷e̵t̶a̷t̴i̶o̴n̴ ̶A̵s̷ ̷A̸u̵d̴i̷o̵ ̴A̴K̶A̴ ̶S̸o̸n̵i̷f̴i̸c̷a̸t̴i̵o̴n̴
Another popular databending is
sonification, which is
about converting non-audio information into auditory information —
Something extremely useful for visually impaired people.
In our case, we’ll use an image as audio content, edit it as if it
was sound, and visualize it again as an image. Similarly, like most
databending, this is almost impossible to do with any other format than
a raw uncomressed one, so I hope you haven’t thrown the two originals
from the previous section.
We’ll opt for Audacity as our audio editor. Launch it, select: File > Import > Raw Data. Then pick either your planar or interleaved image data and you’ll be presented with this screen:
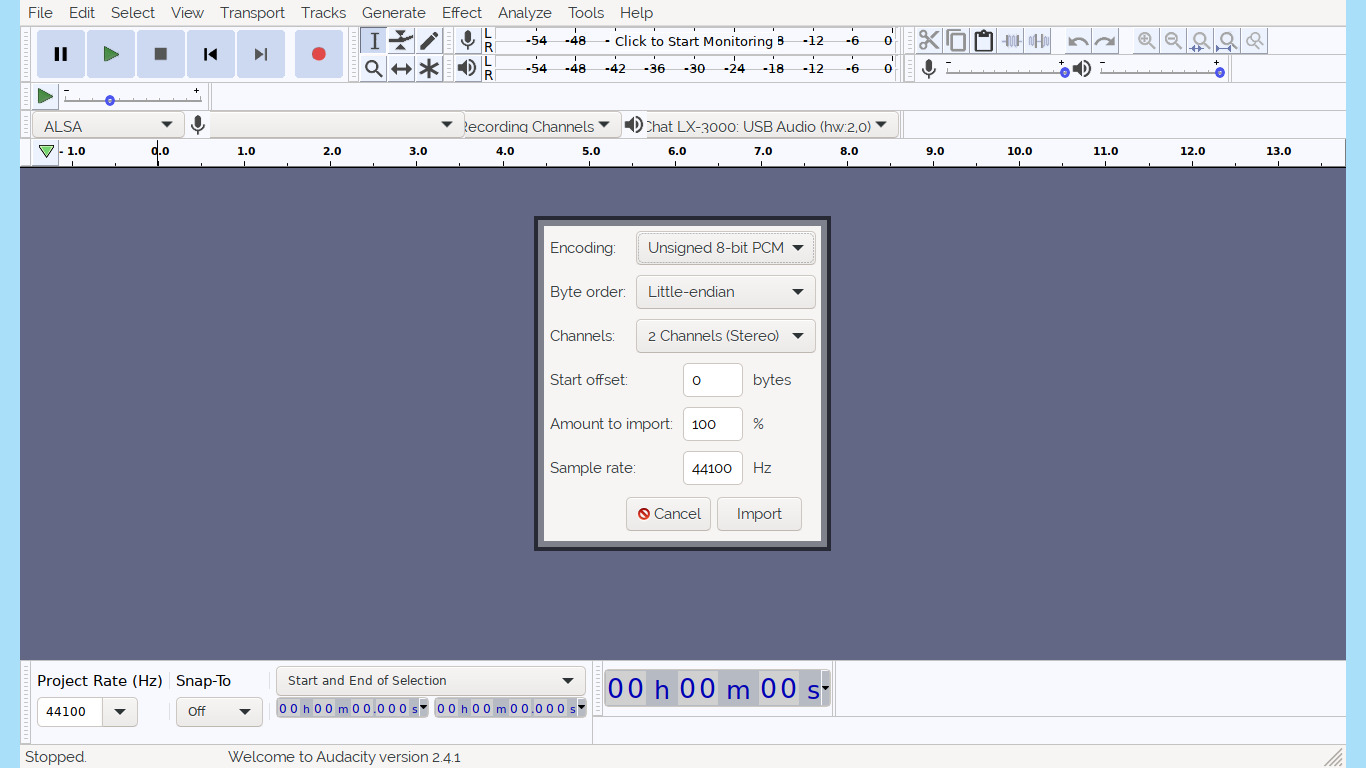
Don’t freak out! What you pick doesn’t really matter but as far as I’m
concerned, better results are found with encoding such as U-law or A-Law,
big-endian byte orientation, and mono channel.
When you are done with the editing, go to the File menu > Export
> Export Audio. Then pick on the bottom right “Other uncompressed
files”, then select the RAW header-less along with the encoding you’ve
previously chosen when importing the file (NB adding the extension
.data makes it easier to open in GIMP later). Don’t fill anything
on the next screen asking for metadata.
You can now have fun applying different types of audio filters on sections of your image. Here are some examples of my favorite songs.
Interleaved image, reverb filter applied:
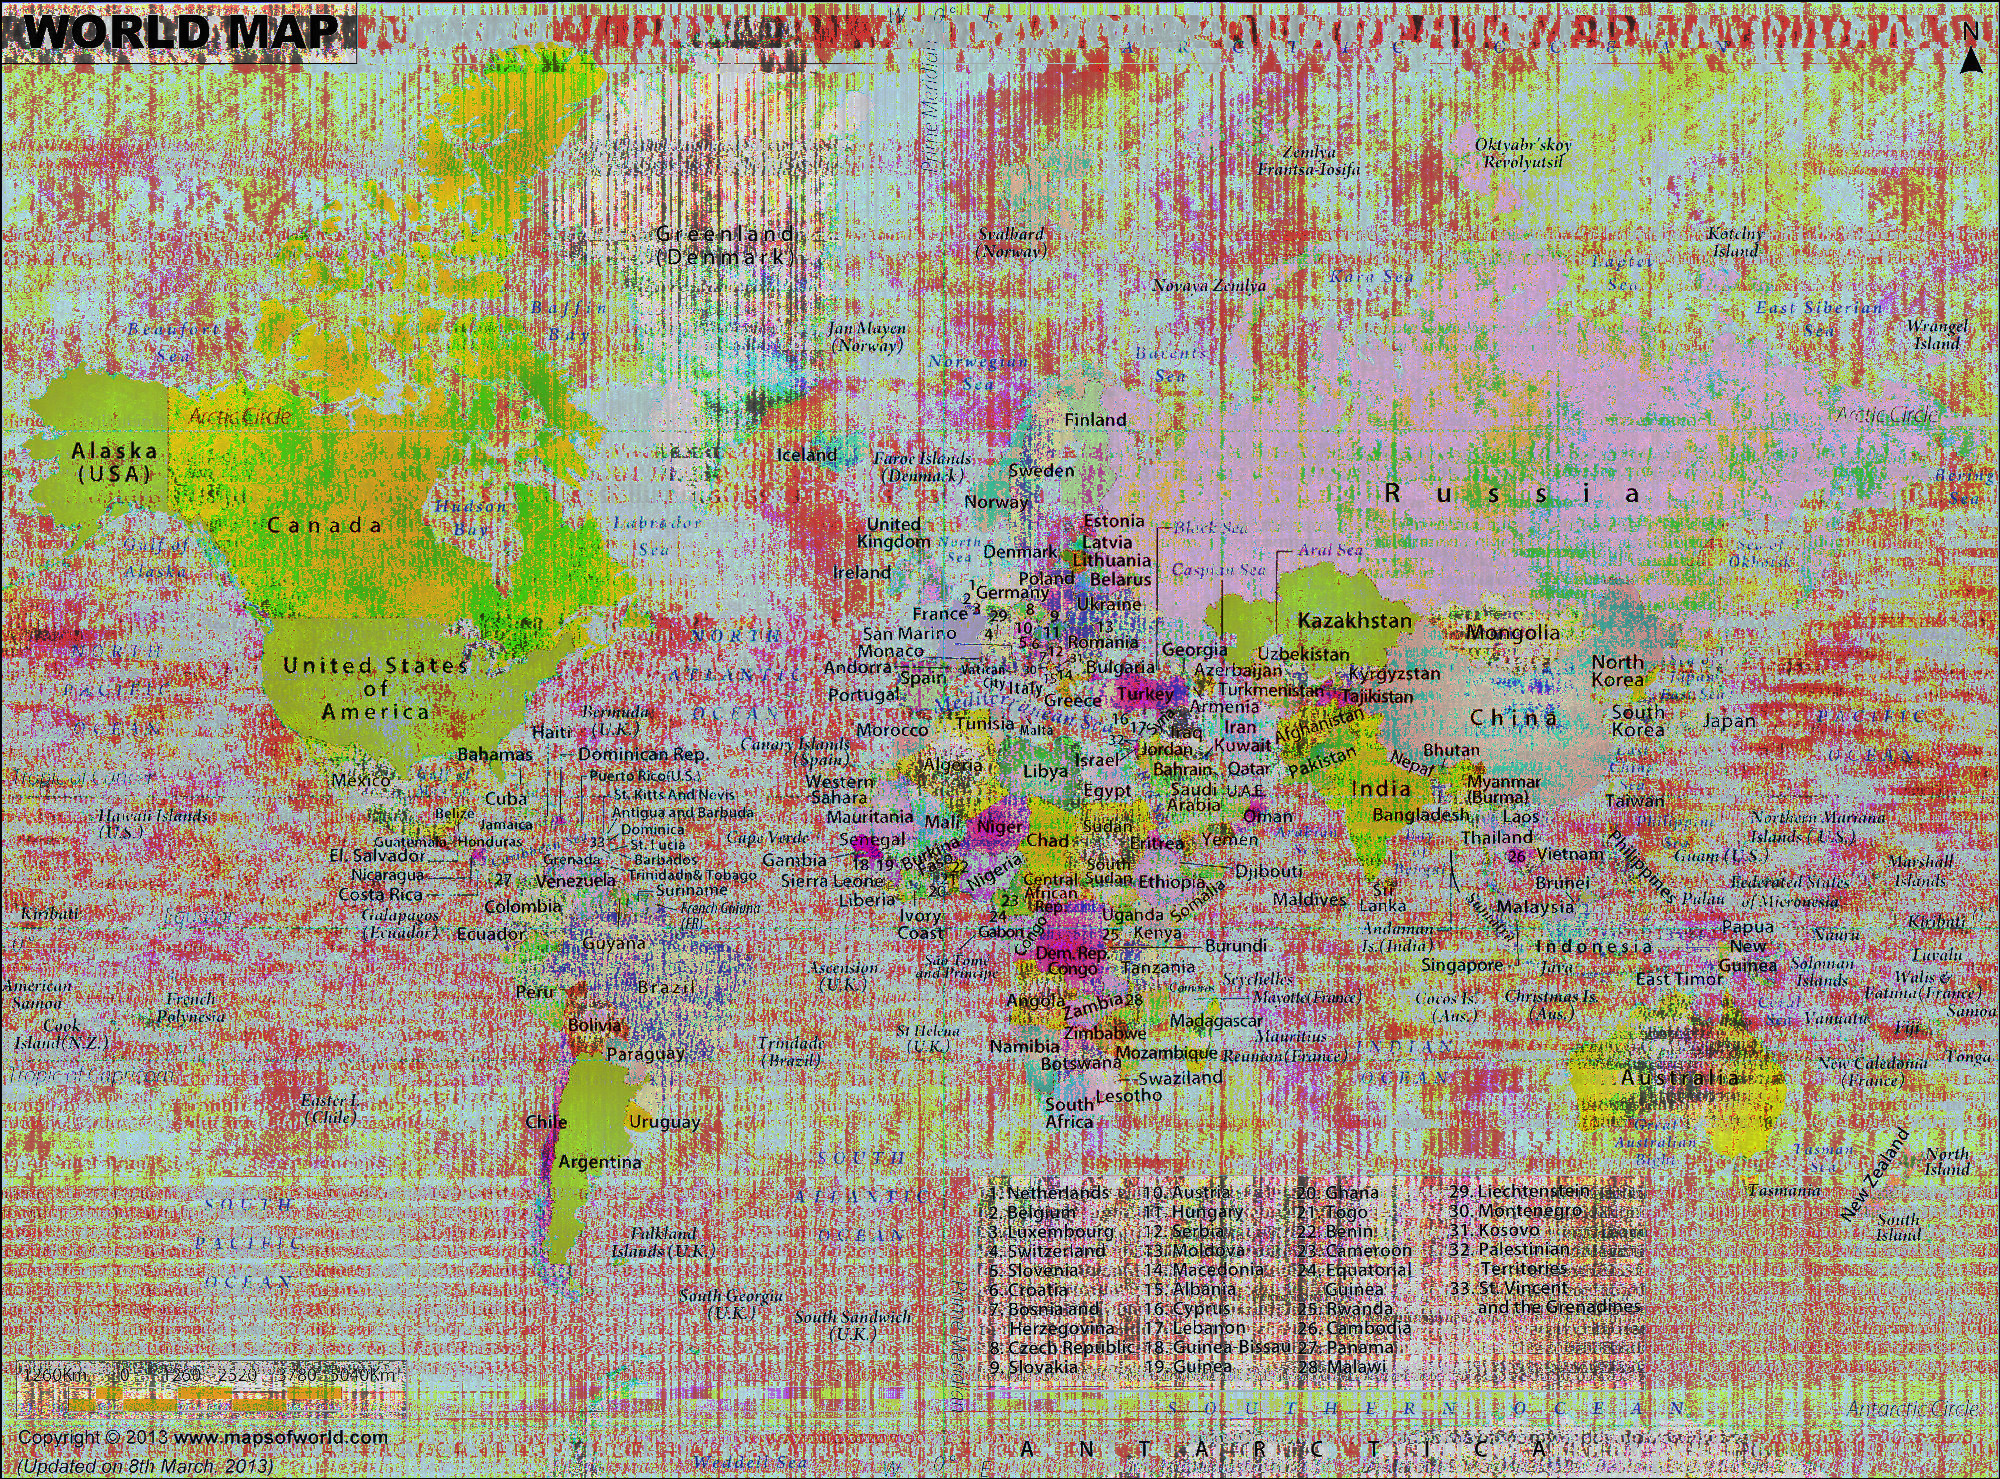
And the same reverb filter applied to the planar version:
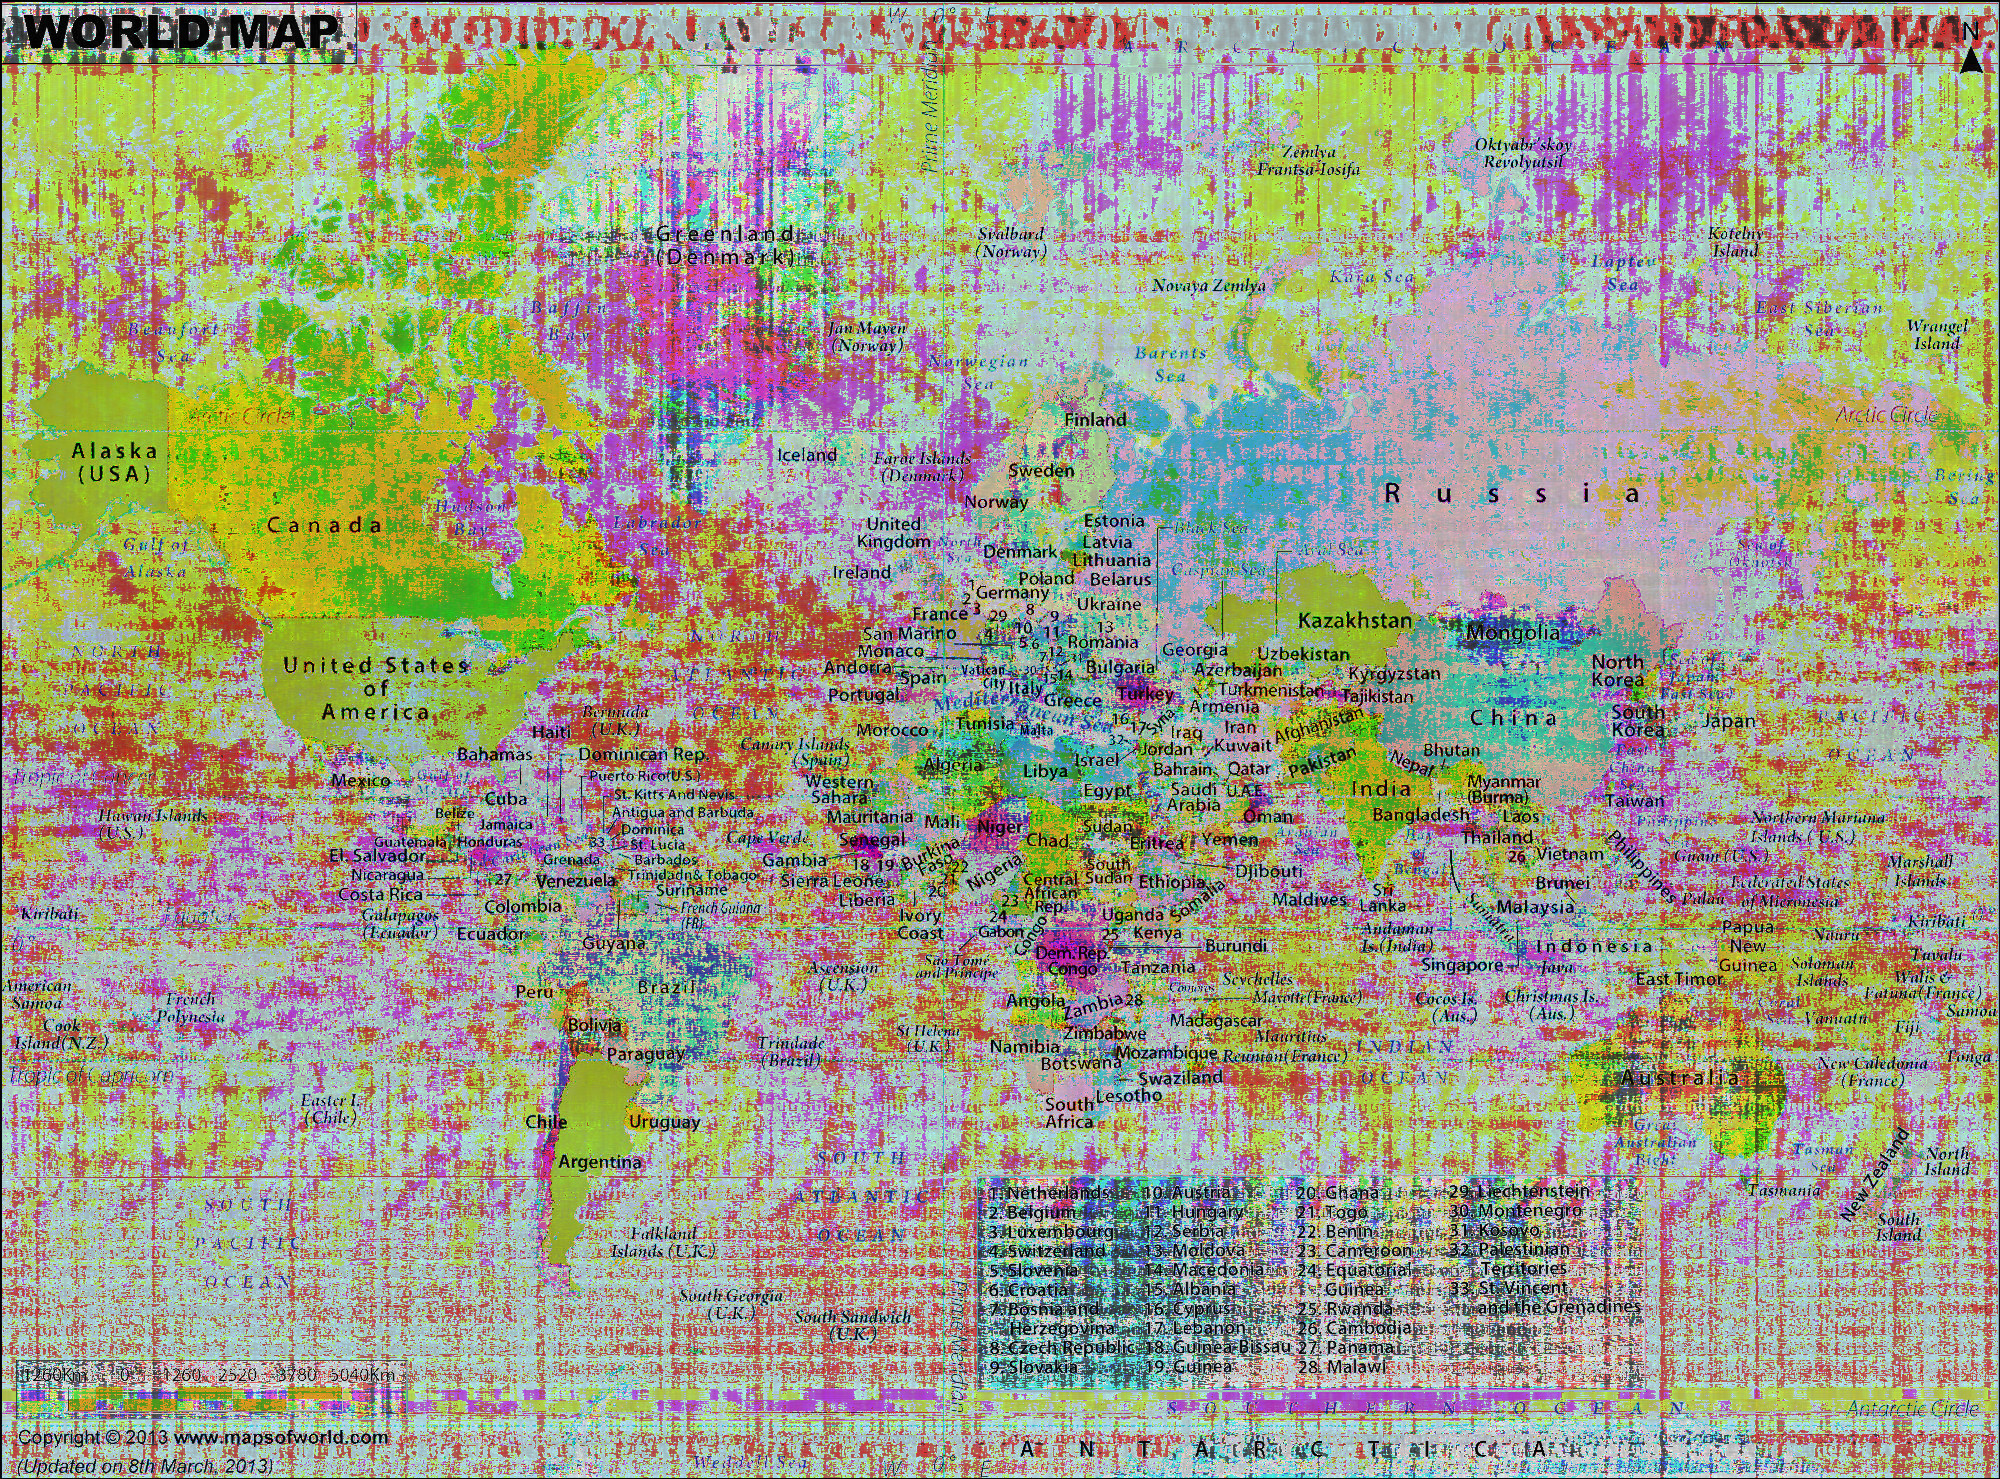
Interleaved image, echo filter aplied:
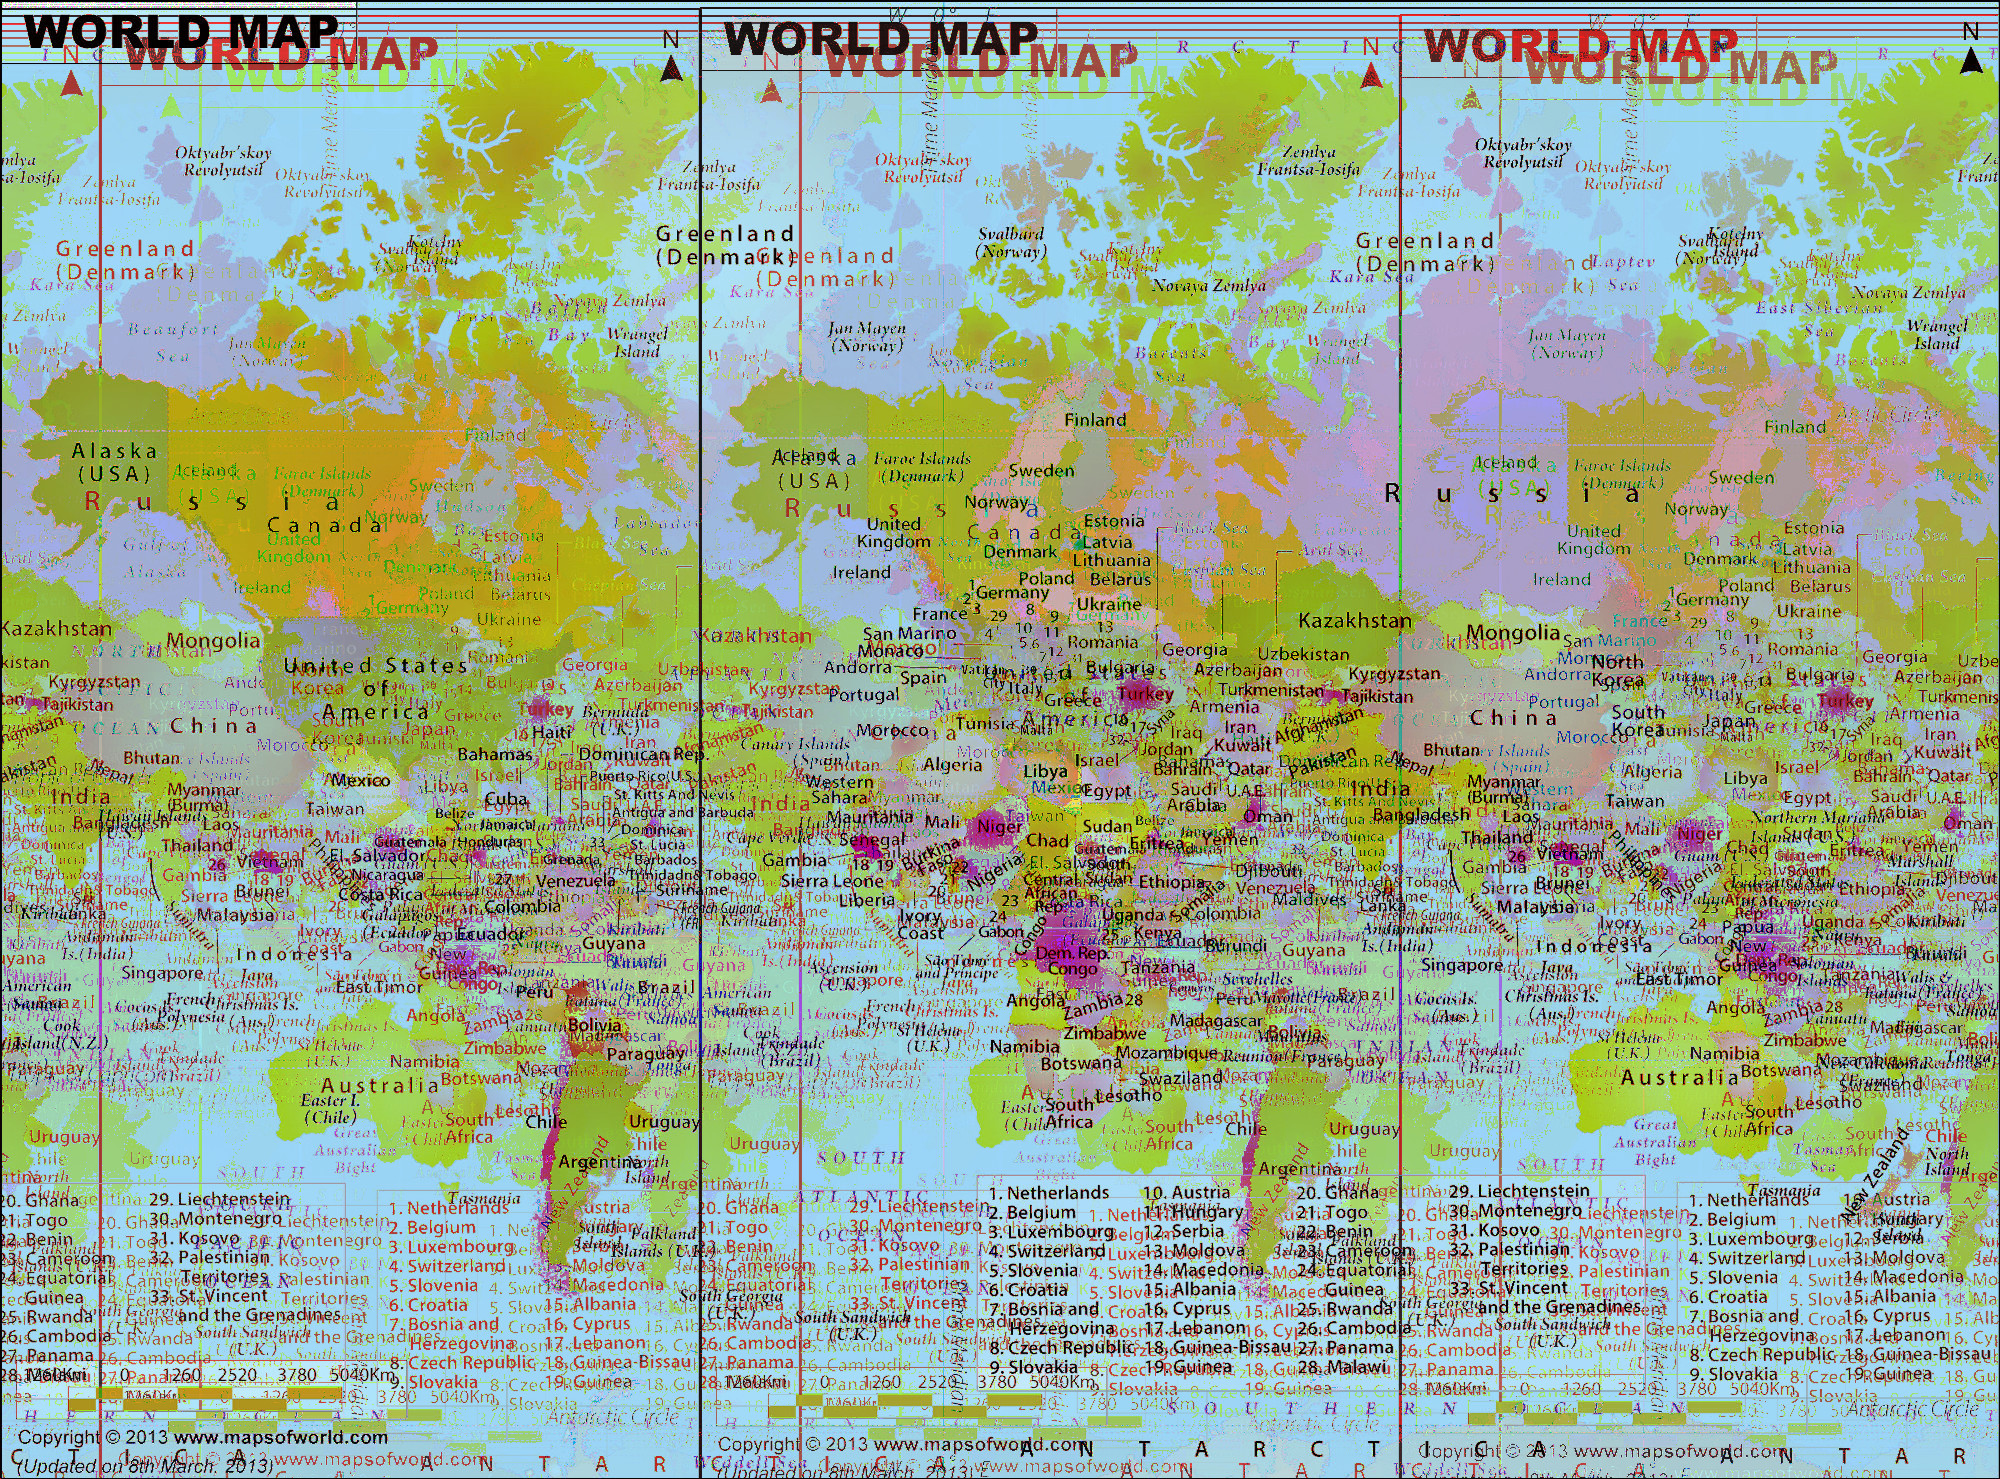
And the same echo filter applied to the planar version:
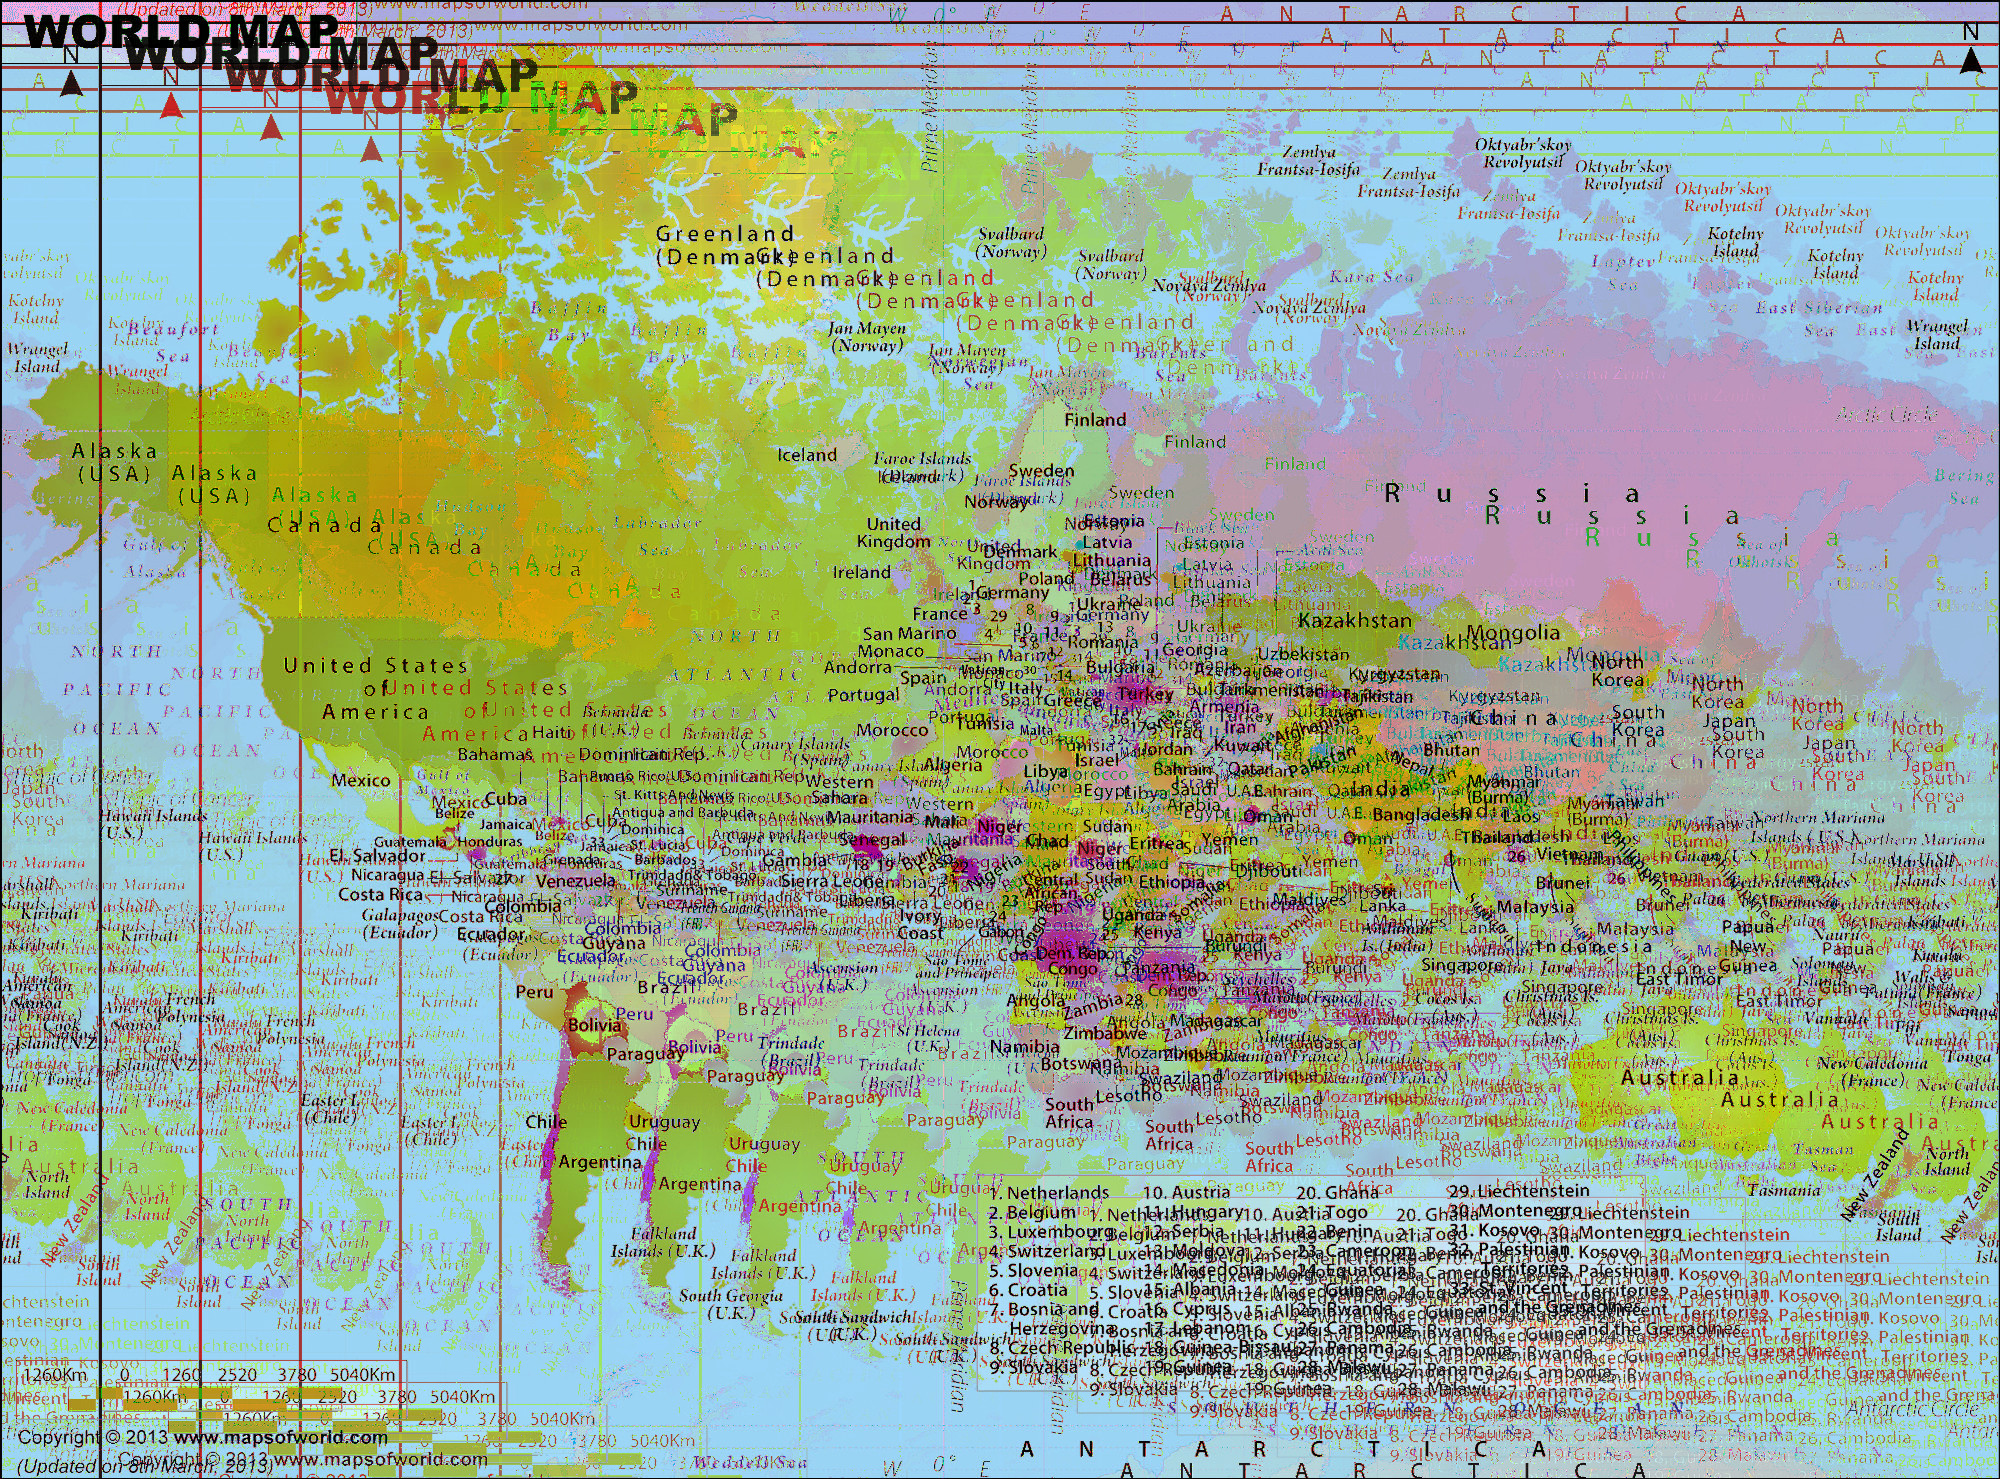
Reverse some sections with others in a planar image:
Tremolo effect on an interleaved image:
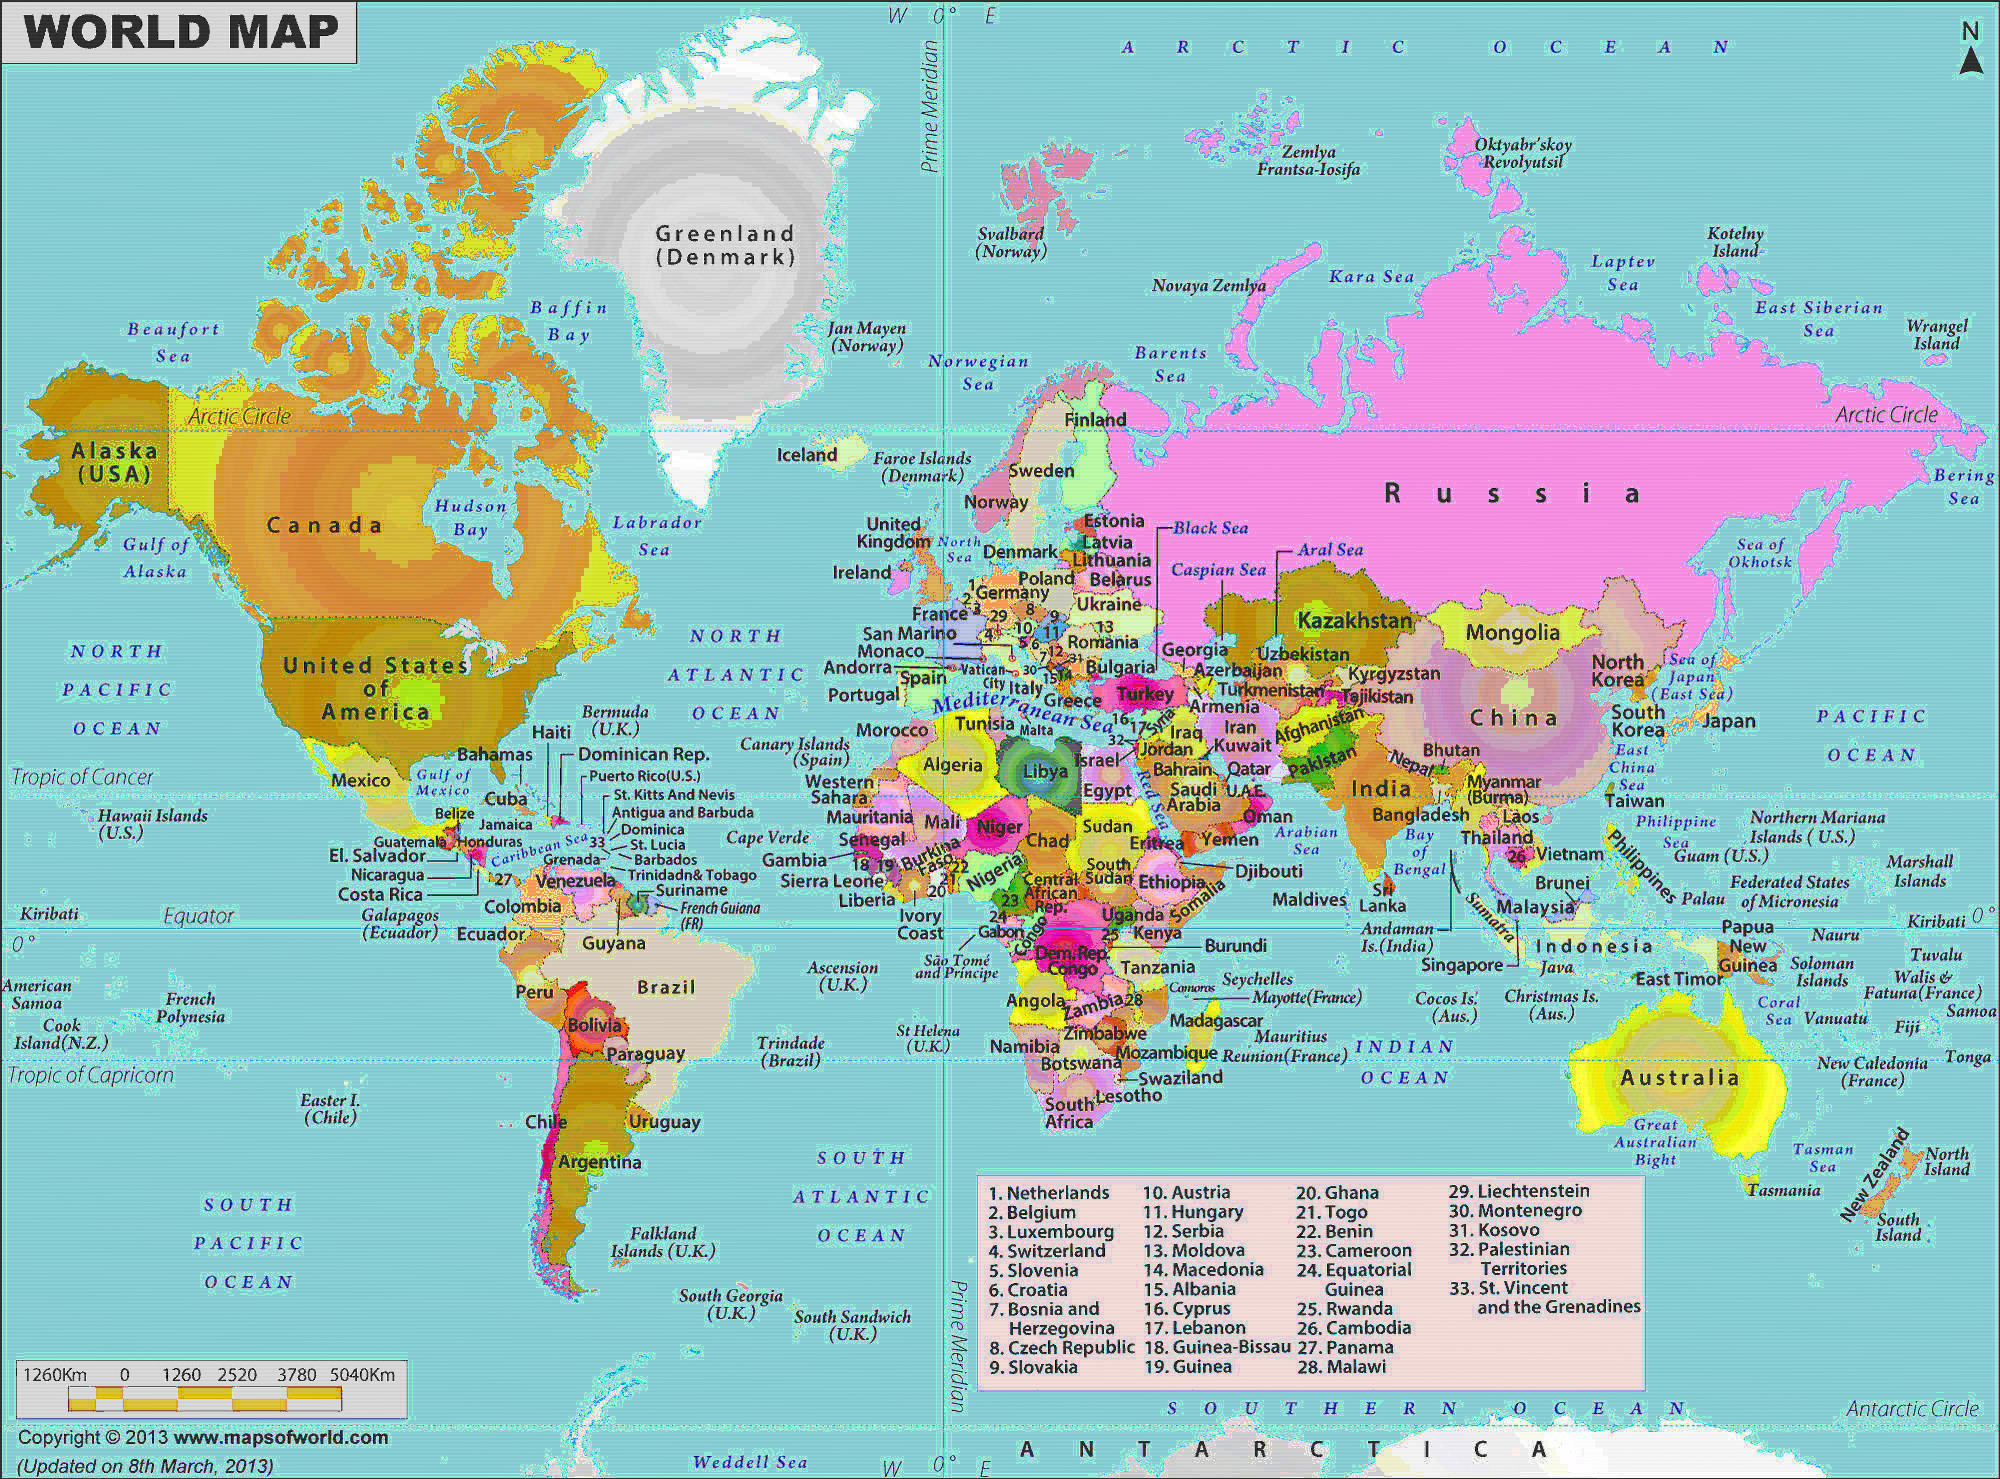
Wahwah effect on a planar image:
Overall, most audio effects work pretty well in both interleaved and planar formats. One of them that actually works on compressed media is the cut-paste-and-reverse, as it is not as destructive as other techniques, we’ll give it a shot in the next section.
C̵a̵s̸e̸ ̷S̸t̴u̵d̷y̸:̷ ̵J̵P̸E̶G̷
Let’s get acquainted with one of the most popular compressed image
format: JPEG.
We’ll peel its layers, spread them apart, get more intimate, and
understand its deepest feelings.
Like most binary formats, JPEG is composed of TLV segments,
Type-Length-Value, which as the name implies have well-defined tags for
type followed by the length of the value that will be associated with
the tag (plus the length of the length itself, 2 in the case of JPEG).
All tags in the JPEG format standard (you’ll find multiples links in
the further reading section) are 2 bytes long and always start with
0xFF. JPEG has a well-defined header that starts with the appropriately
named “Start of Image” or SoI tag (0xFFD8) and ends with the also
appropriately named “End of Image” or EoI tag (0xFFD9).
Anything that starts with 0xFF is considered a tag if it isn’t within
the value part of another tag.
There’s one exception to this: when it comes to the actual
content of the image, the Entropy Coded Segment (ECS), as it doesn’t
have a fixed size but reads until it finds another tag. That is why if
0xFF needs to be included in it, it is stuffed with 0x00 afterward
to know it’s really meant to be 0xFF.
Concretely, JPEG are formed of a header which dictates how to decompress the data of the image. This data is then found in a series of loops/scans that each encode a different type of information about the image, be it lighting, tints of red, or others. This loop goes as follows:
The name Entropy Coded Segment, ECS, comes from the fact that it is
encoded, usually compressed using a huffman table. As JPEG can contain
different tables to compress different color components, the table itself
has to be pointed to by the information that is read before the ECS comes
along, namely that Start of Scan or SoS section (in the diagram above
“Scan”).
So each iteration of the loop tells us how to decode the information in
the ECS.
That’s the gist of it, we don’t really care about understanding precisely
the full scope of the JPEG specifications, but just enough to be dangerous
with it.
Let’s write a script to split up the components of the JPEG so that we can
manipulate them independently, to then recompose it and admire the result.
You can find such script here.
These are the parts I get after running the script on the world — we divide and conquer.
tree -L 1
.
├── 01_header.jpg
├── 02_scan.jpg
├── 03_data.jpg
├── 04_scan.jpg
├── 05_data.jpg
├── 06_scan.jpg
├── 07_data.jpg
├── 08_scan.jpg
├── 09_data.jpg
└── 10_end.jpg

0 directories, 10 files
We can definitely hire another monkey to mash the data part of the image,
make a mess of its internal structure. However, the JPEG is a bit more
sensitive to changes. Still, you can get pretty good results, this is
what happens when we have a go at 09_data.jpg and 03_data.jpg.
We can get back our image by doing:
```
cat [0-9]*.jpg > reconstituted.jpg
```
Even though the changes were minimal, the effect is radical.
Let’s see if we can employ the cut-paste-reverse with the ECS data, just like we’ve done with the raw image for sonification. Let’s get a clean version and open it in audacity.

Cutting and pasting definitely works, but reversing most of the time doesn’t, and the data is extremely sensible.
Each section affects a different feature of the image. The glitches
above are caused by editing 03_data.jpg and 09_data.jpg.
If we want to know what each scan adds to the image we can shortcut them
by removing other scans or inserting the End of Image early on. This is
what each of the JPEG layer does:
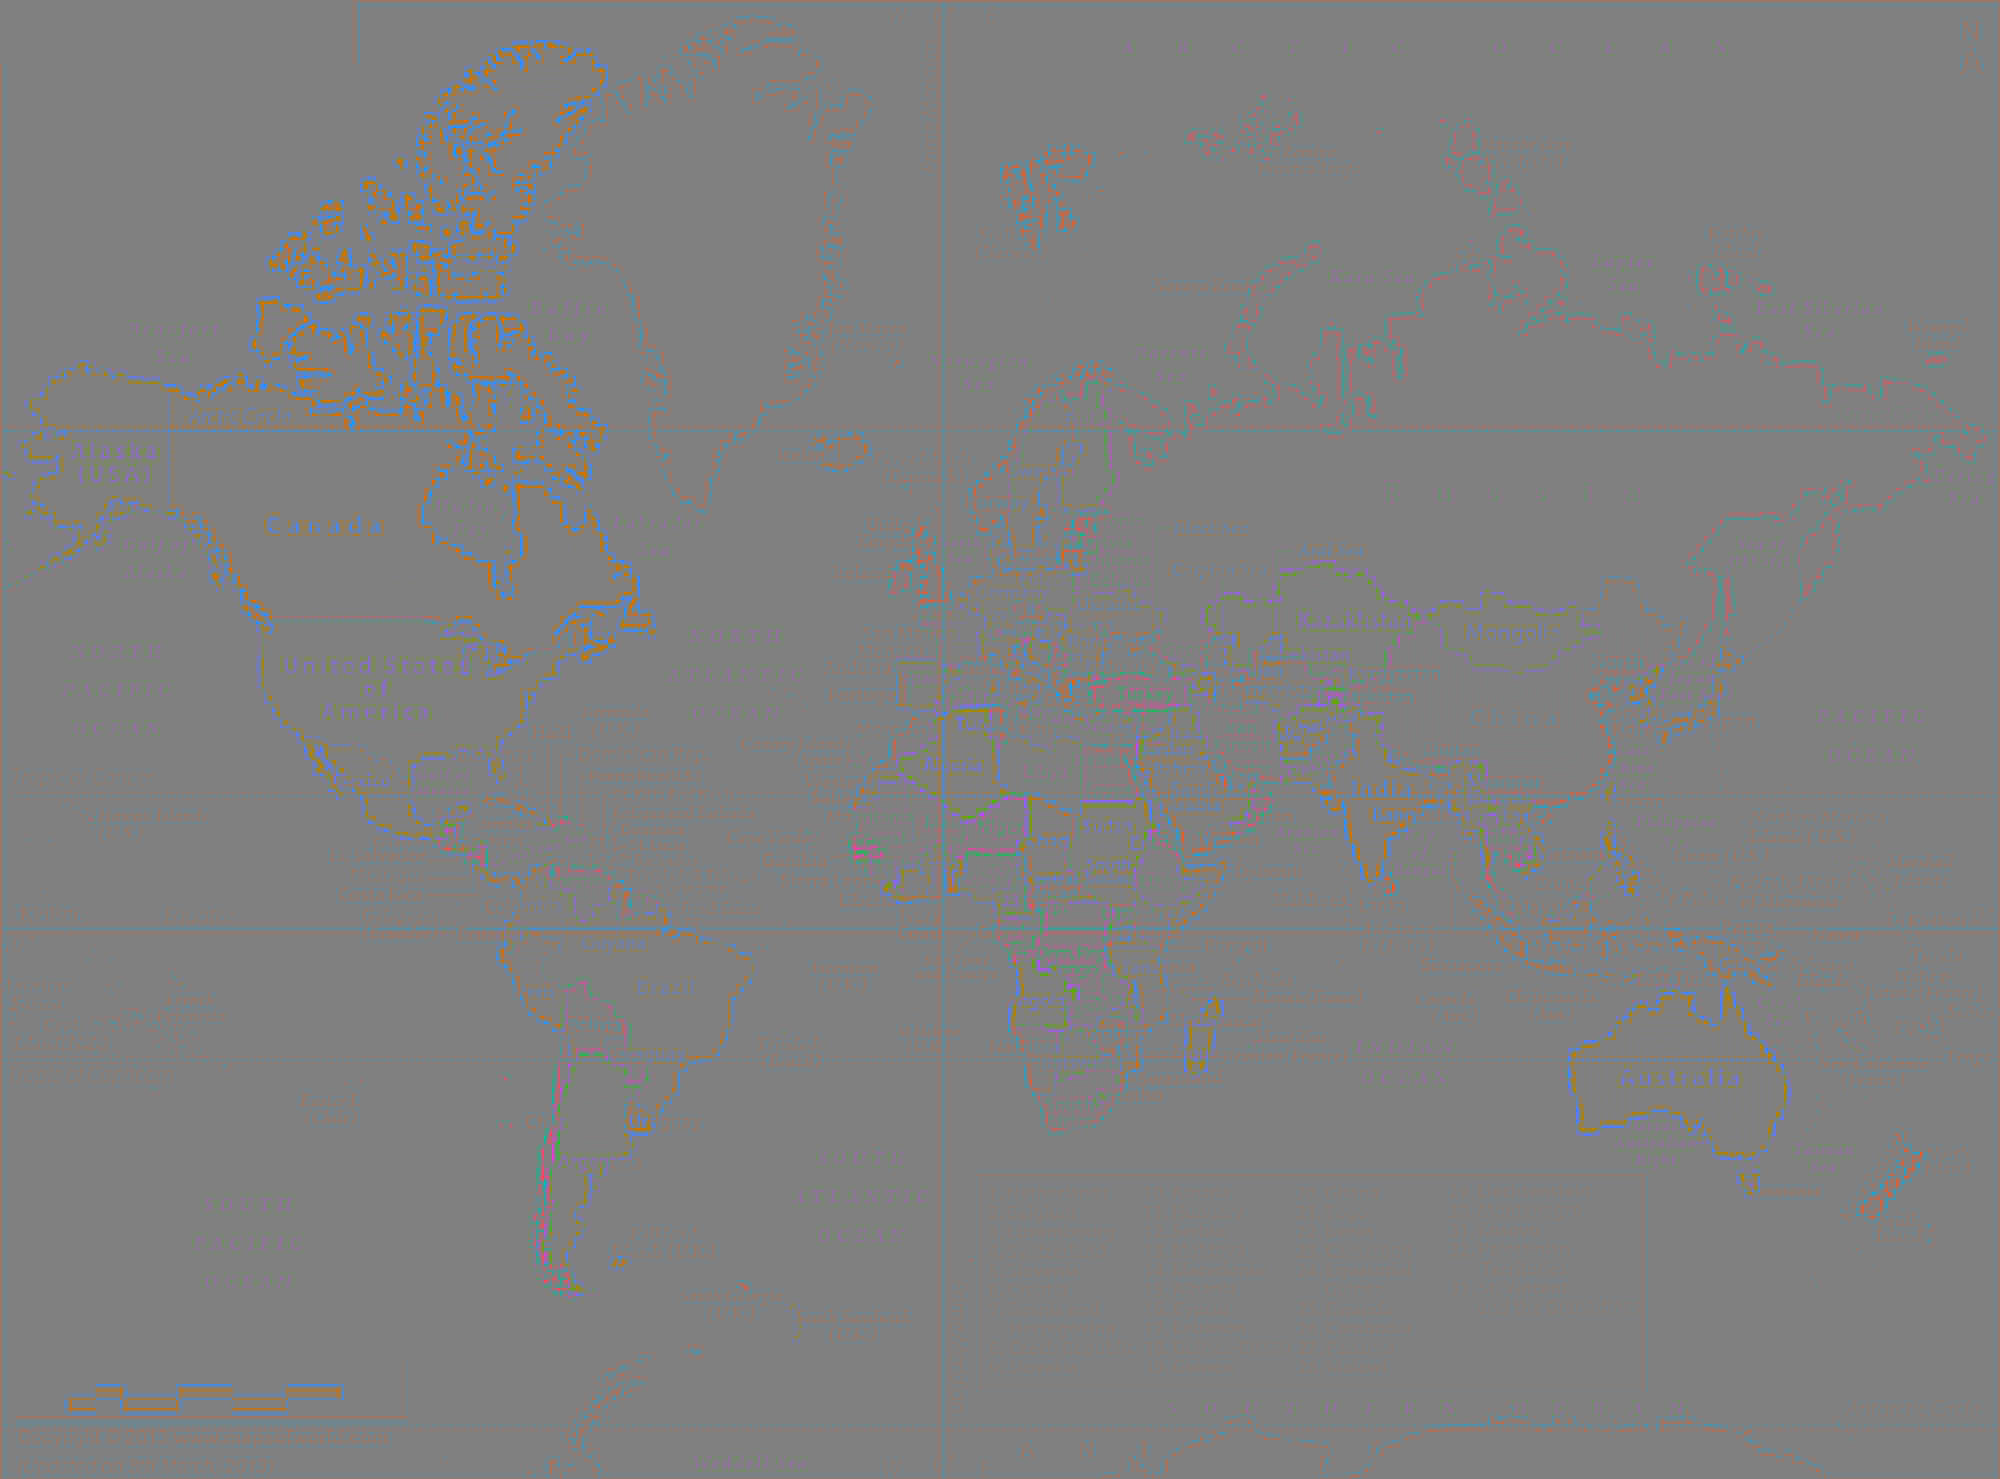
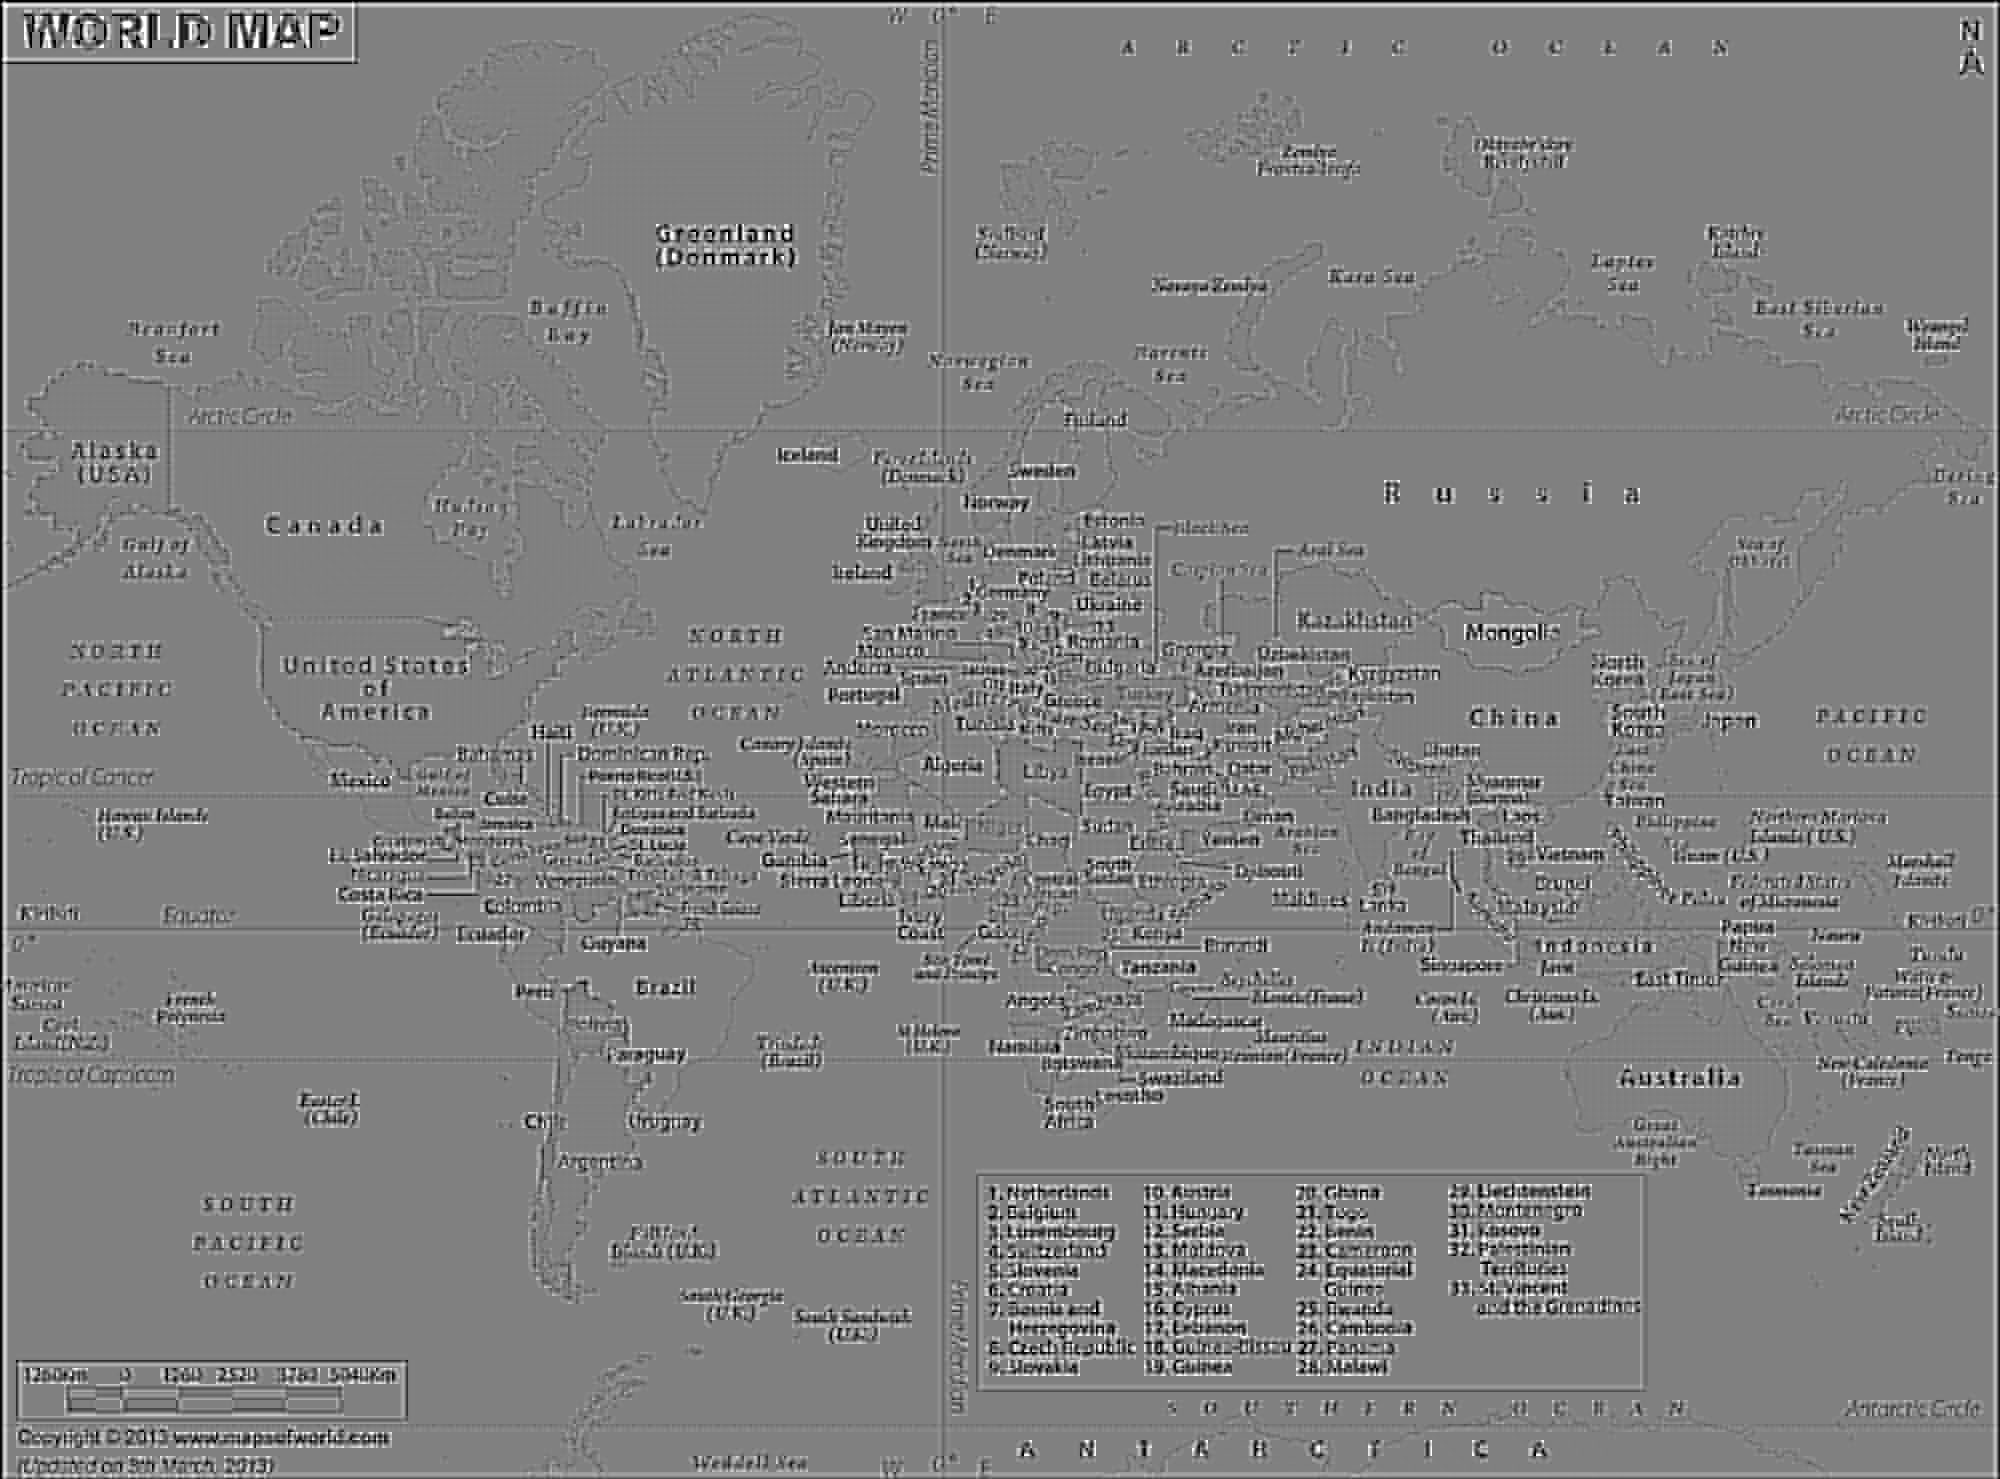
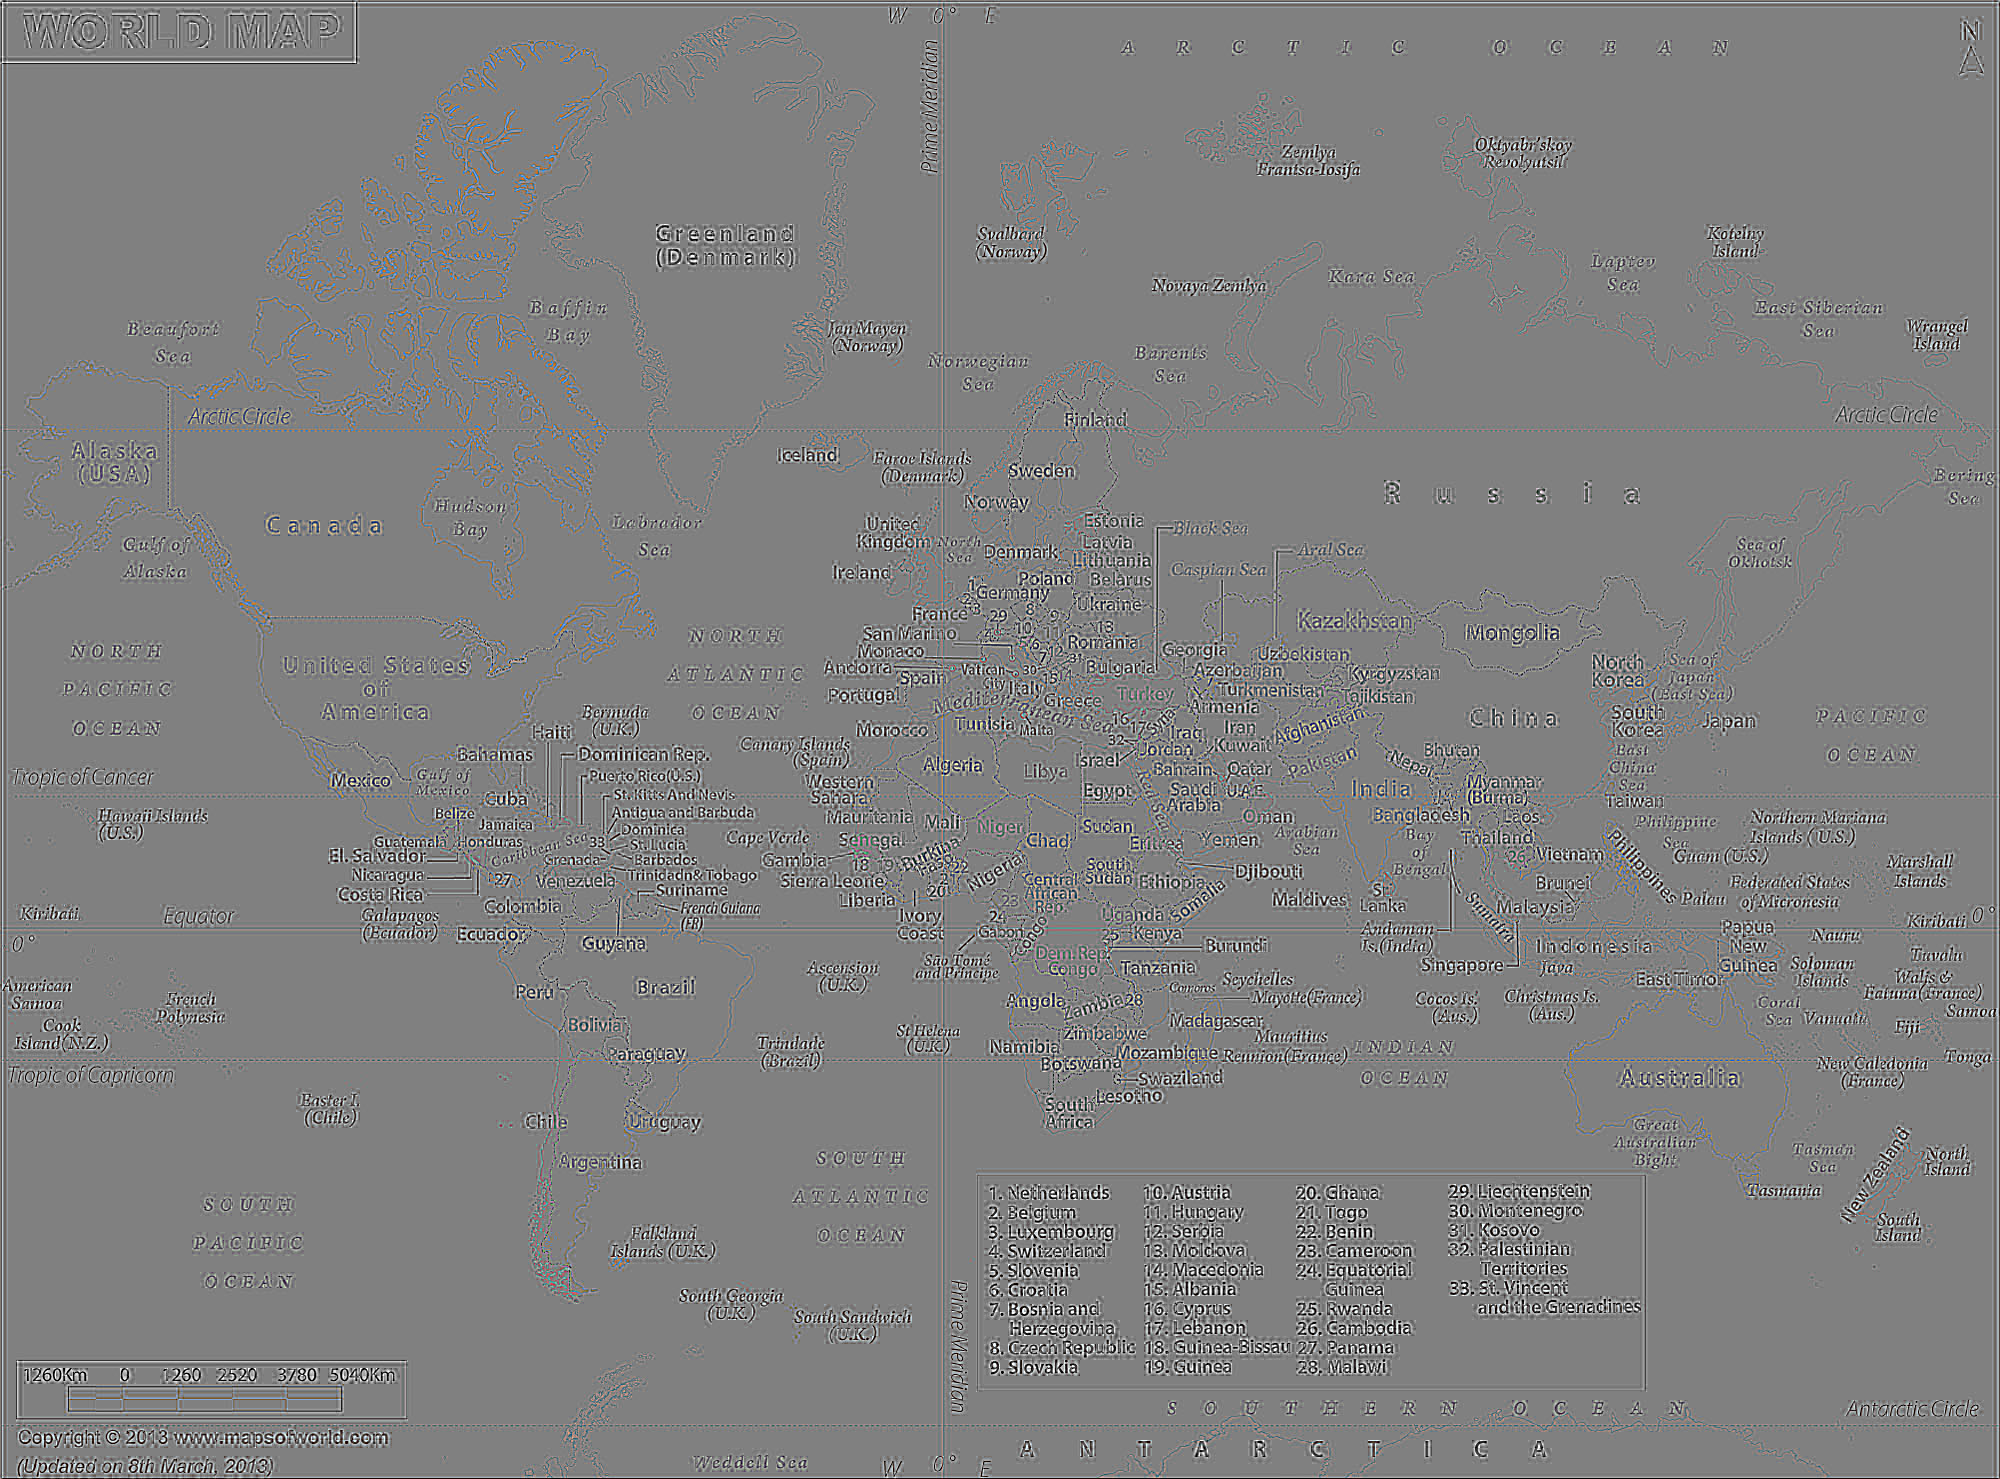
It’s interesting to notice that the first layer is the most colorful but the smallest, while the last layer is the biggest but has more minutia and fewer colors.
Now we’re ready to dive deeper and to mess with the header parts of the image, fire up your hex editor and get ready. I won’t bother you with the details, but it all comes down to editing specific bits in the headers. Let’s explain by example.
The most-significant bits in the quantization tables and huffman tables have more weight than the least-significant ones. That comes from the way they are laid out, the quantization is in zig-zag while the huffman is coded in a tree, and both are ordered by importance. Also note that each huffman and quantization table is used for different parts of the image, the ones we’ve shown above.
In the header there are 3 quantization tables 0xFFDB, let’s edit one of
them and see what it does. In our image they all seem to be for luminance.
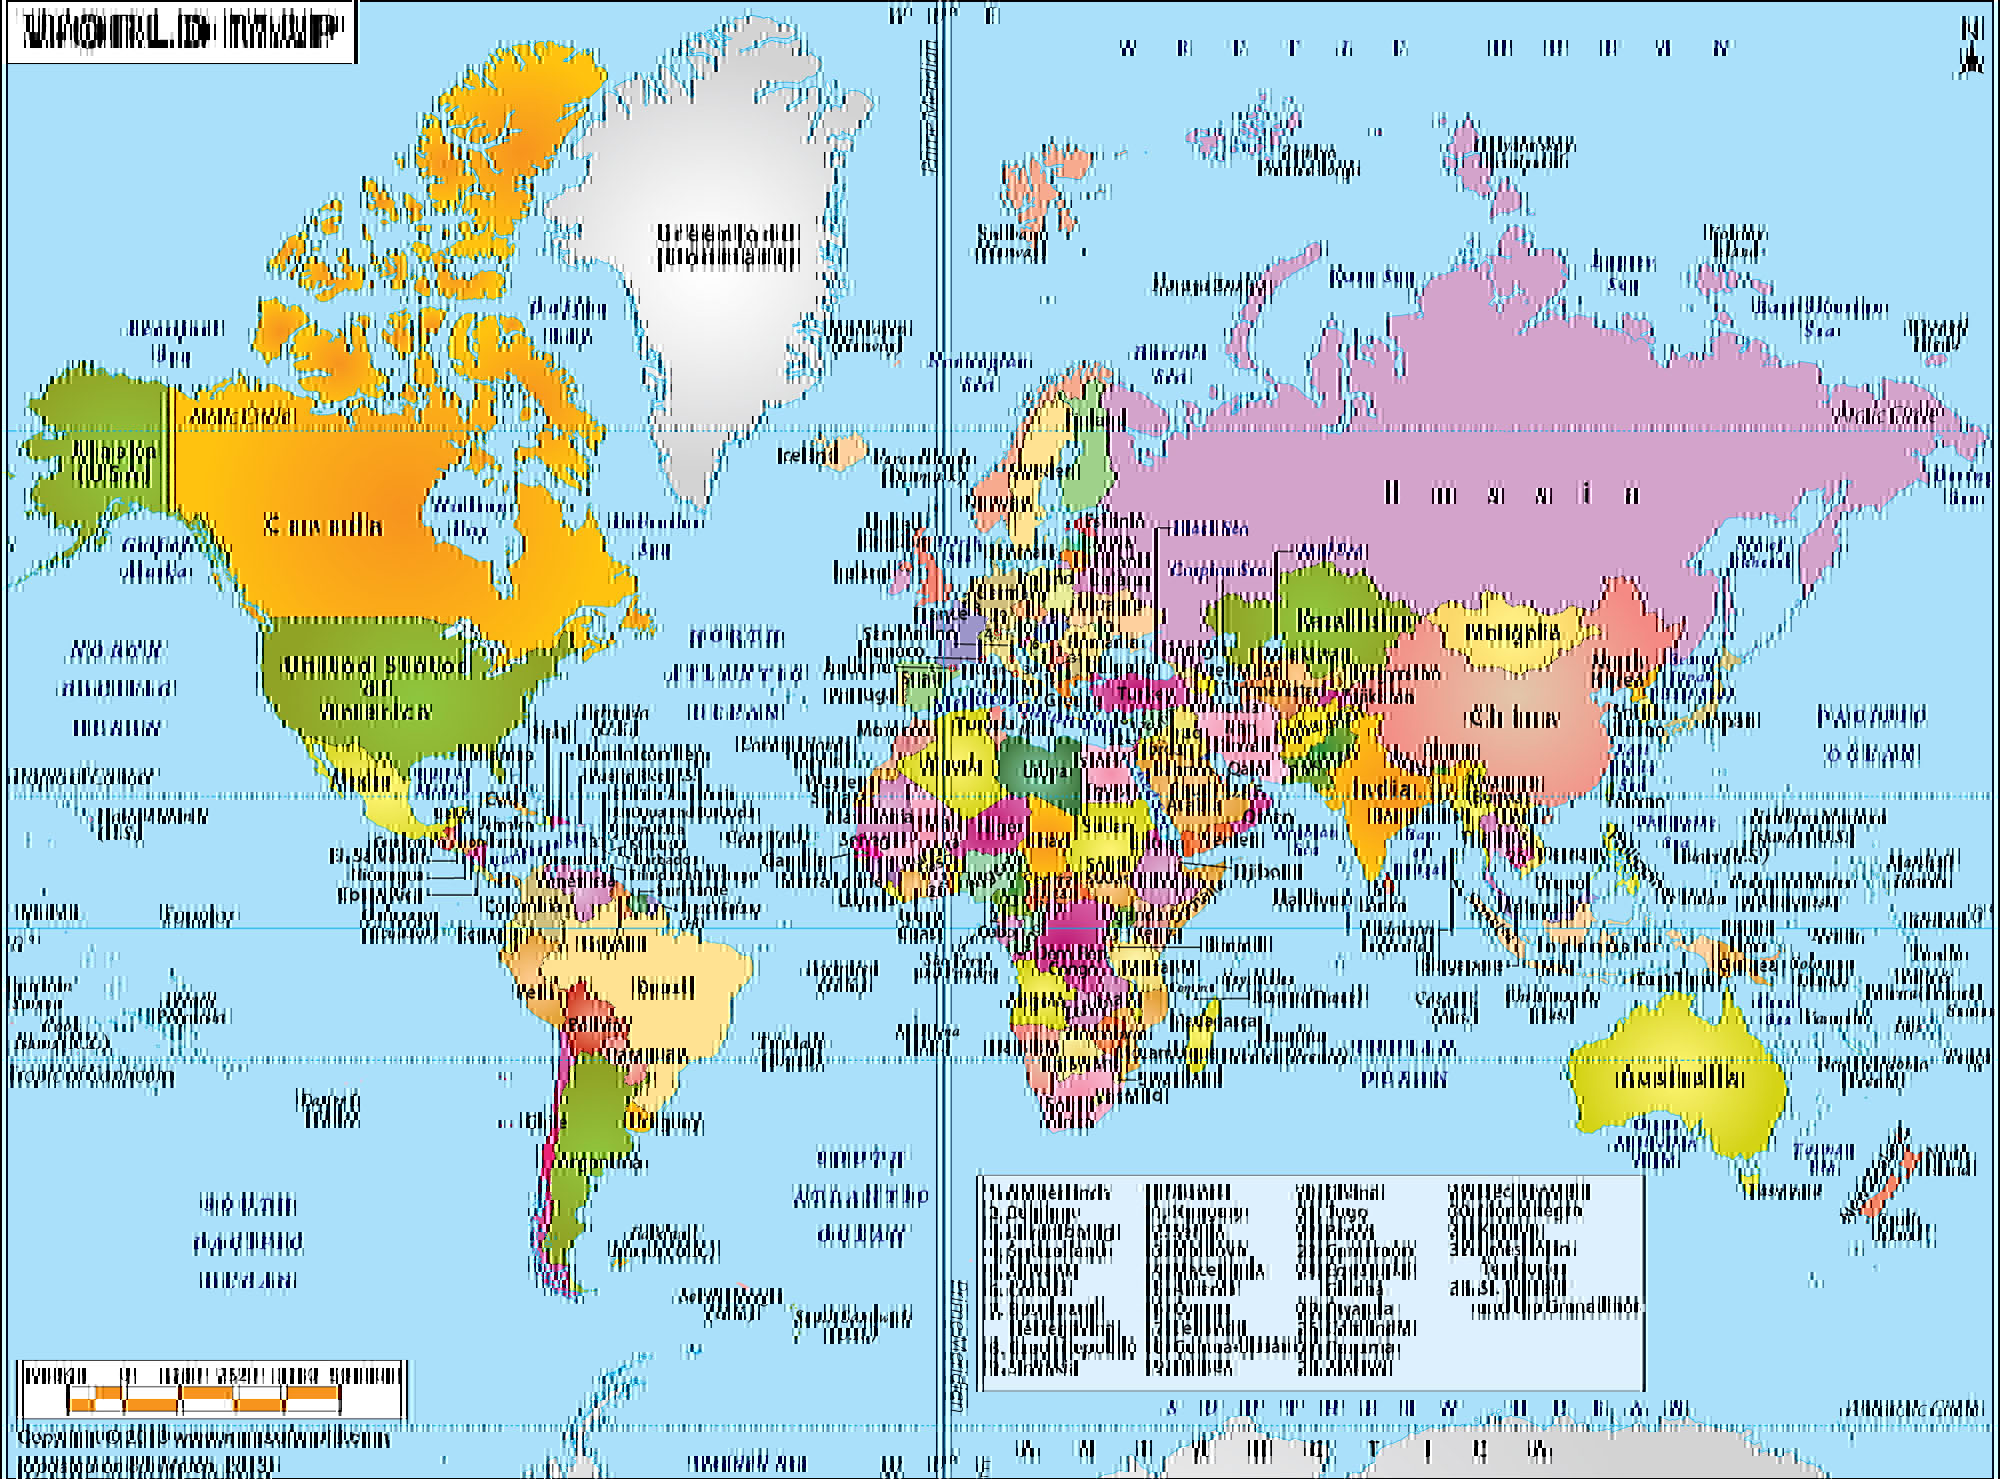
Editing a single byte in the third quantization table results in this
— a true glitch that would be caused by a single bit flip:
What about manipulating one of the 3 huffman tables 0xFFC4, which is a
bit more tricky but feasible, we just have to edit the symbols in it, 17B
after the length tag. Let’s swap two of these symbols in the beginning.

Pretty impressive, what about symbols in the middle of the table.

The effect is less pernicious, barely noticeable, because the least significant changes are at the end of the table and represented by more bits.
Instead of manipulating the huffman table in the header we can manipulate
which one is pointed to by each part of the image scan, in the Start of
Scan aka SoS section 0xFFDA.
This section encodes a lot of interesting things, not only which
huffman table should be used, but for what they should be used for, the
coefficient of the values in the DCT, the first and last coefficient to
use, and much more.
Because the first part is more colorful, let’s play with its SoS, open
02_scan.jpg in your favorite hex editor.
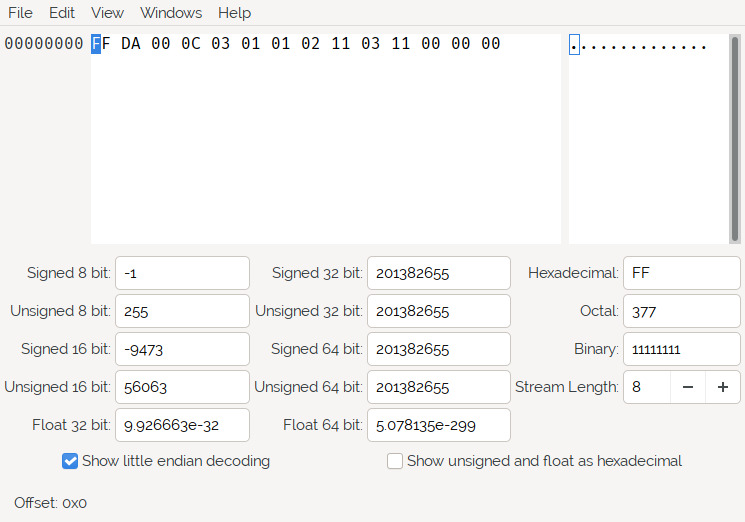
We can see there are 3 components, that means the bytes in the ECS will
encode 3 different color components and builds each using two different
tables for DC and AC, which are two different coefficients for the
DCT table.
Anyway, let’s change the table number, and obviously, that glitches the file.

We can also change the way these factors are applied by modifying the last byte of the SoS, the successive approx, the result is dazzling.
We can also edit the spectral selection, which is the first and last DCT coefficient used in the zig-zag order. The effect depends on the segment it is applied to, the following was done on the second and third data segments.
This is it for our destructive love of the JPEG format, now let’s move to other things.
I̴m̷a̷g̴e̵ ̶P̸r̷o̷c̸e̷s̵s̸i̴n̵g̵
If you dare to mention image processing in the glitch art community,
you’ll bring hell upon yourself. This will be called art that looks
glitchy, art glitch and not glitch art.
Technically, there isn’t much difference between databending the pixel
components in a raw image form and manipulating the pixel in memory via
an image processing algorithm. However, I can agree that the soul and essence
of the art will be missing. Meanwhile, the imagemoshing we’ve done with
JPEG was closer to what glitch art is about.
You’re going to ask “who cares, and who’ll know the difference”, well
I will, and I’ll be watching you along with my evil datamashing monkeys.
Image processing that looks like glitching works by using an image manipulation library such as Python pillow and manipulating the color components of the image to make them look glitchy. If that sounds similar to raw images, it’s because it is.
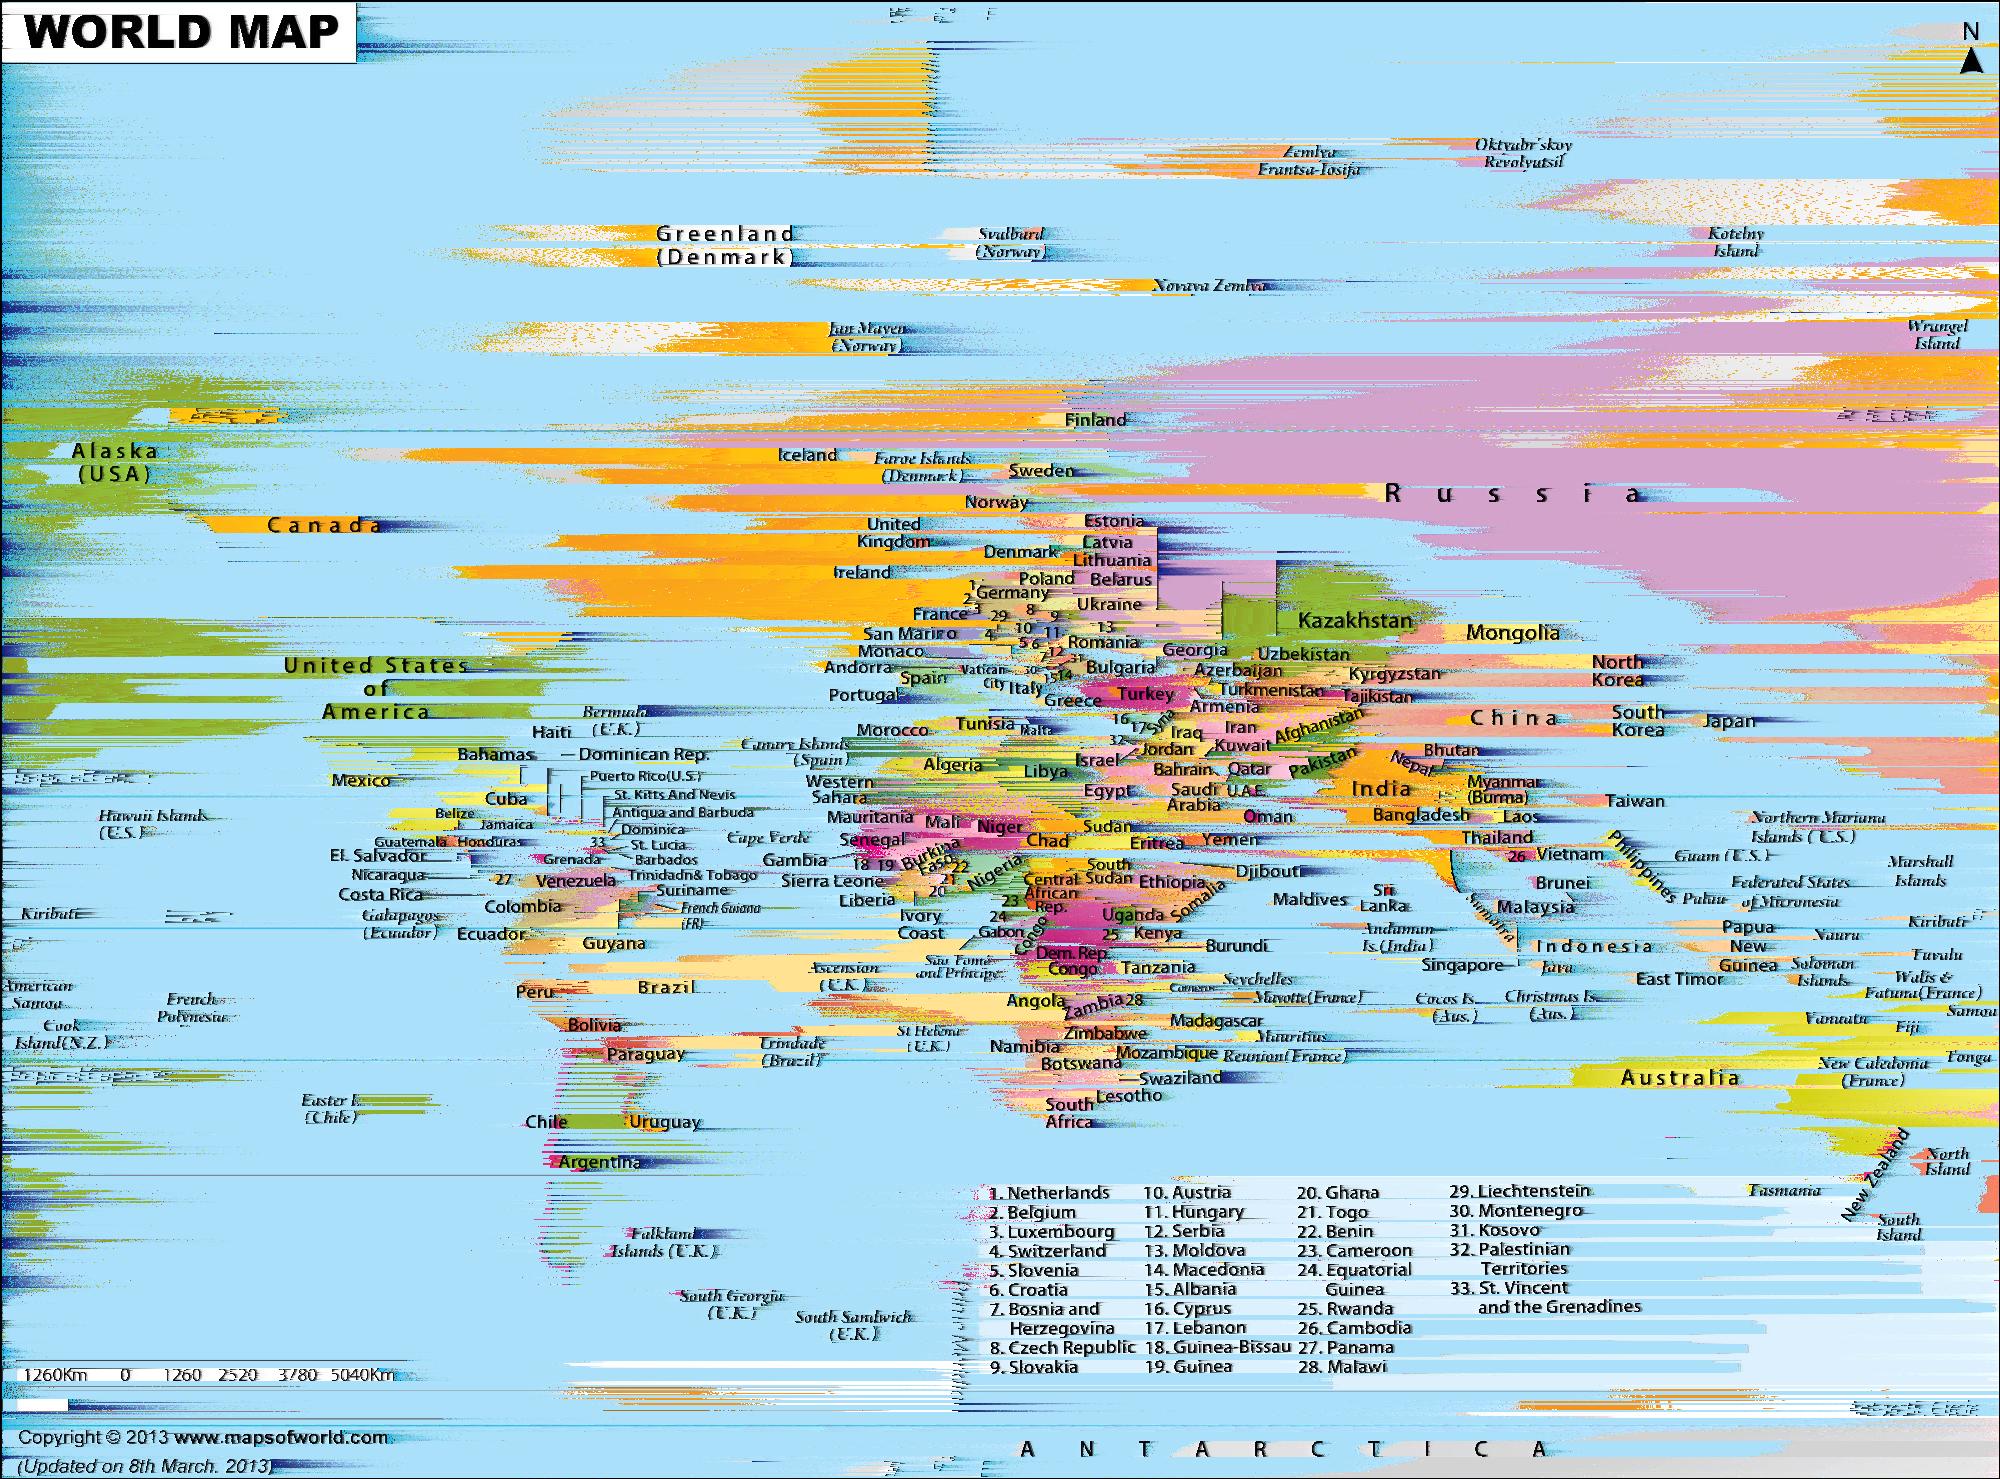
Let’s mention some techniques I find fun. Let’s start with Pixel Sorting.
Pixel sorting is about selecting pixels that pass a certain criterion,
gather them in an array, and order them according to that same
criterion. You can apply it horizontally, vertically, or in blocks. You
can apply it according to lightness, darkness, hue, or anything that suits you.
Here,
you’ll find a script that does just that, and the result looks like this:
Another technique is called Channel Shifting. It is about storing each color component in a different array and shifting them on the X or Y axis. Doesn’t that remind you of planar raw images? Certainly, it’s because it’s the same technique!
There’s a lot of image processing effects that can be done, as is shown by
this website, however the result isn’t always
as appealing as a real glitch.
Yes, we’re now true glitch amateurs!
We can even go as far as mixing these by doing an overlay/composite of them using imagemagick.
A̸n̵i̷m̶a̷t̴e̵d̶ ̵W̸a̷l̴l̷p̵a̴p̵e̶r̸
Back to our initial goal: Create a wallpaper carousel of madness.
I’ve tested different approaches, from gifview to mplayer, and the best
way I’ve found is the simplest way: A basic script that loops through
the images, sleeps, and sets them as wallpaper.
The script can be found
here.
C̸o̶n̶c̶l̵u̴s̷i̸o̶n̷
Congratulations, you know enough corruption to start a career in
politics! You’ll thank me later when you’re rich.
Now go have fun with what you’ve learned, and enjoy your day.
Further Reading
- https://beyondresolution.info/
- https://en.wikipedia.org/wiki/Error_correction_code
- https://en.wikipedia.org/wiki/Error_detection_and_correction
- http://datamoshing.com/
- http://datamoshing.com/2016/06/15/how-to-glitch-jpg-images-with-data-corruption/
- http://datamoshing.com/2016/06/26/how-to-glitch-images-with-wordpad/
- http://datamoshing.com/2016/06/16/how-to-glitch-images-using-pixel-sorting/
- https://github.com/kimasendorf/ASDFPixelSort/blob/master/ASDFPixelSort.pde
- http://datamoshing.com/2016/06/29/how-to-glitch-images-using-rgb-channel-shifting/
- http://datamoshing.com/2016/06/16/how-to-glitch-images-using-processing-scripts/
- http://datamoshing.com/2016/06/15/how-to-glitch-images-using-audio-editing-software/
- https://github.com/Hugosslade/smackmyglitchupjs/blob/master/glitch.html
- https://github.com/jeffThompson/PixelSorting
- https://github.com/snorpey/jpg-glitch/blob/master/scripts/workers/glitchworker.js
- https://photomosh.com/
- https://www.airtightinteractive.com/demos/js/imageglitcher/
- https://www.wired.co.uk/article/glitch-art-databending
- https://en.wikipedia.org/wiki/Databending
- https://en.wikipedia.org/wiki/Glitch_art
- http://blog.animalswithinanimals.com/2008/08/databending-and-glitch-art-primer-part.html
- http://blog.animalswithinanimals.com/2008/09/databending-and-glitch-art-primer-part.html
- http://blog.animalswithinanimals.com/2014/10/databending-and-glitch-art-primer-part.html
- sonification
- sox instead of audacity
- https://github.com/aguaviva/micro-jpeg-visualizer/
- https://github.com/corkami/formats/blob/master/image/jpeg.md
- https://yasoob.me/posts/understanding-and-writing-jpeg-decoder-in-python/
- https://en.wikipedia.org/wiki/Entropy_encoding
- https://www.blackhat.com/docs/asia-14/materials/Ortiz/Asia-14-Ortiz-Advanced-JPEG-Steganography-And-Detection.pdf
- https://www.impulseadventure.com/photo/jpeg-huffman-coding.html
- https://www.impulseadventure.com/photo/jpeg-minimum-coded-unit.html
- https://www.w3.org/Graphics/JPEG/itu-t81.pdf
- accidental glitches
- intentional glitches
- video datamoshing
- https://github.com/venam/glitching_images
- glitchlock
- Adventures in image glitching
Attributions:
S. Michelspacher, Cabala, Augsburg, 1616Homer B. Sprague, Milton's Cosmography, Boston, 1889
If you want to have a more in depth discussion I'm always available by email or irc.
We can discuss and argue about what you like and dislike, about new ideas to consider, opinions, etc..
If you don't feel like "having a discussion" or are intimidated by emails
then you can simply say something small in the comment sections below
and/or share it with your friends.